Copy, Edit, and End a Billing Schedule
Last updated: August 28, 2026
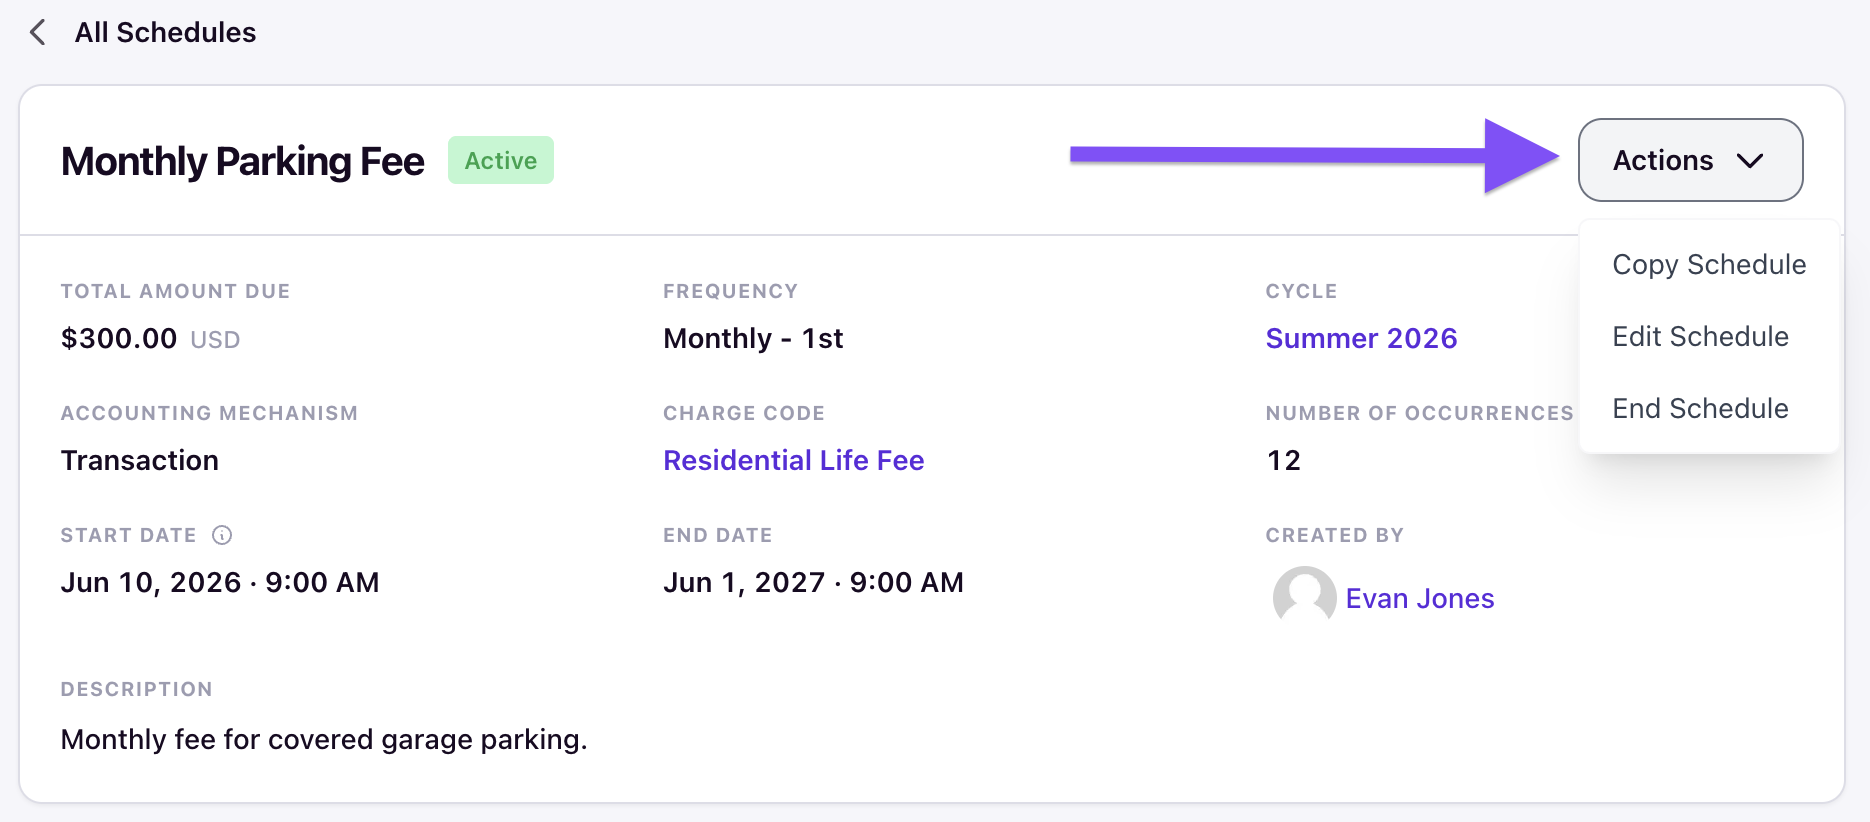
Billing schedules run automatically, but you can manage their lifecycle from the Actions menu on the schedule detail page, which offers Copy Schedule, Edit Schedule, and End Schedule. There is no pause, resume, or cancel at the schedule level — a schedule moves from Active to Ended.
Schedule actions can be located via the Actions button on the individual schedule.
Copy a schedule
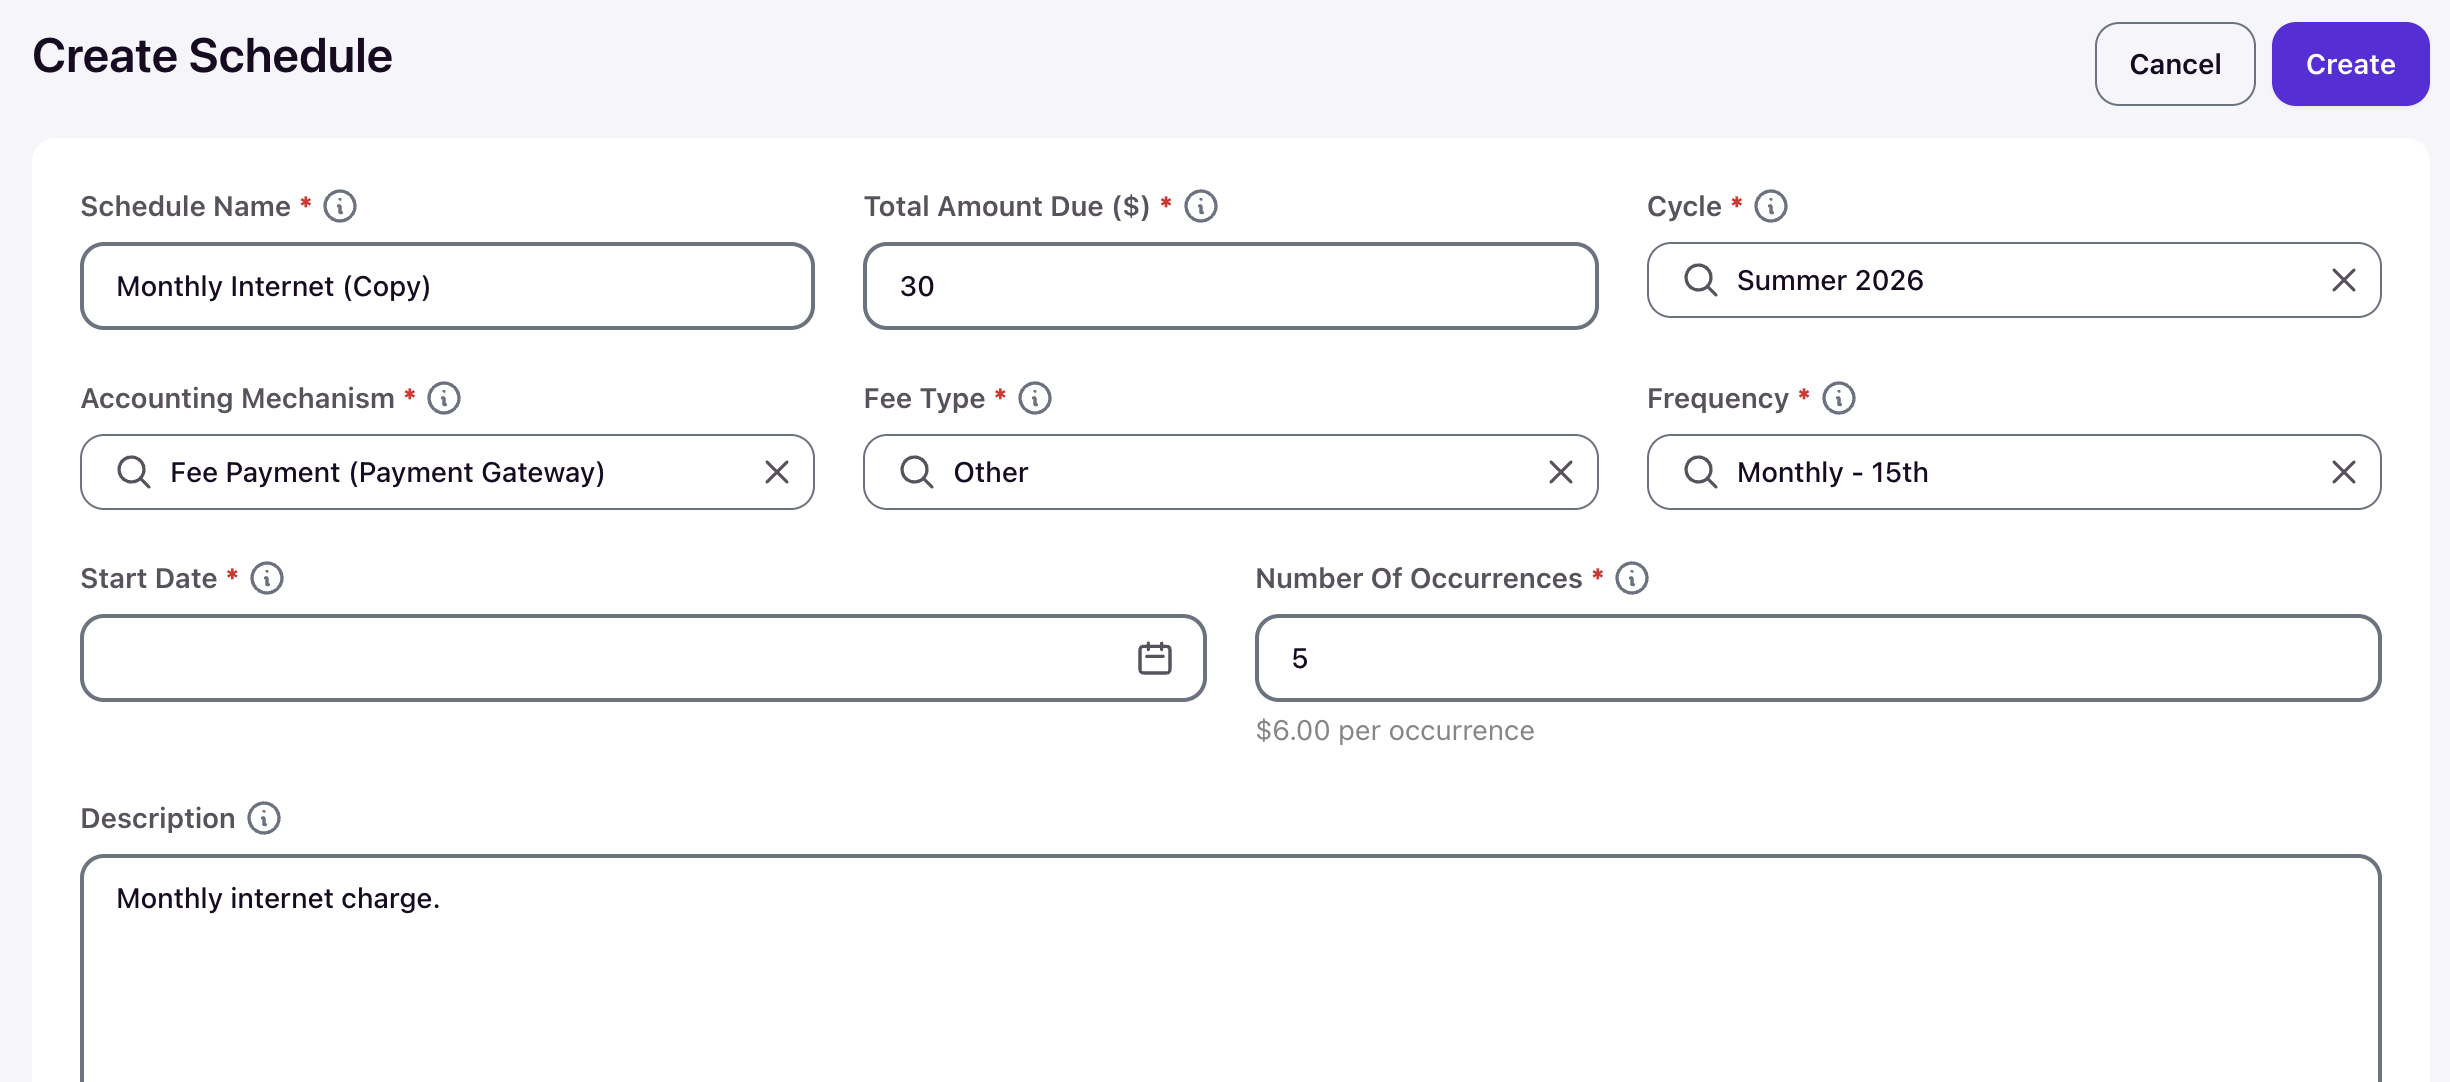
Select Copy Schedule from the Actions menu to duplicate an existing schedule as the starting point for a new one. The create form opens pre-filled with the original's settings and the name suffixed "(Copy)". This is useful when you run the same recurring charge across multiple cycles or terms.
Edit a schedule
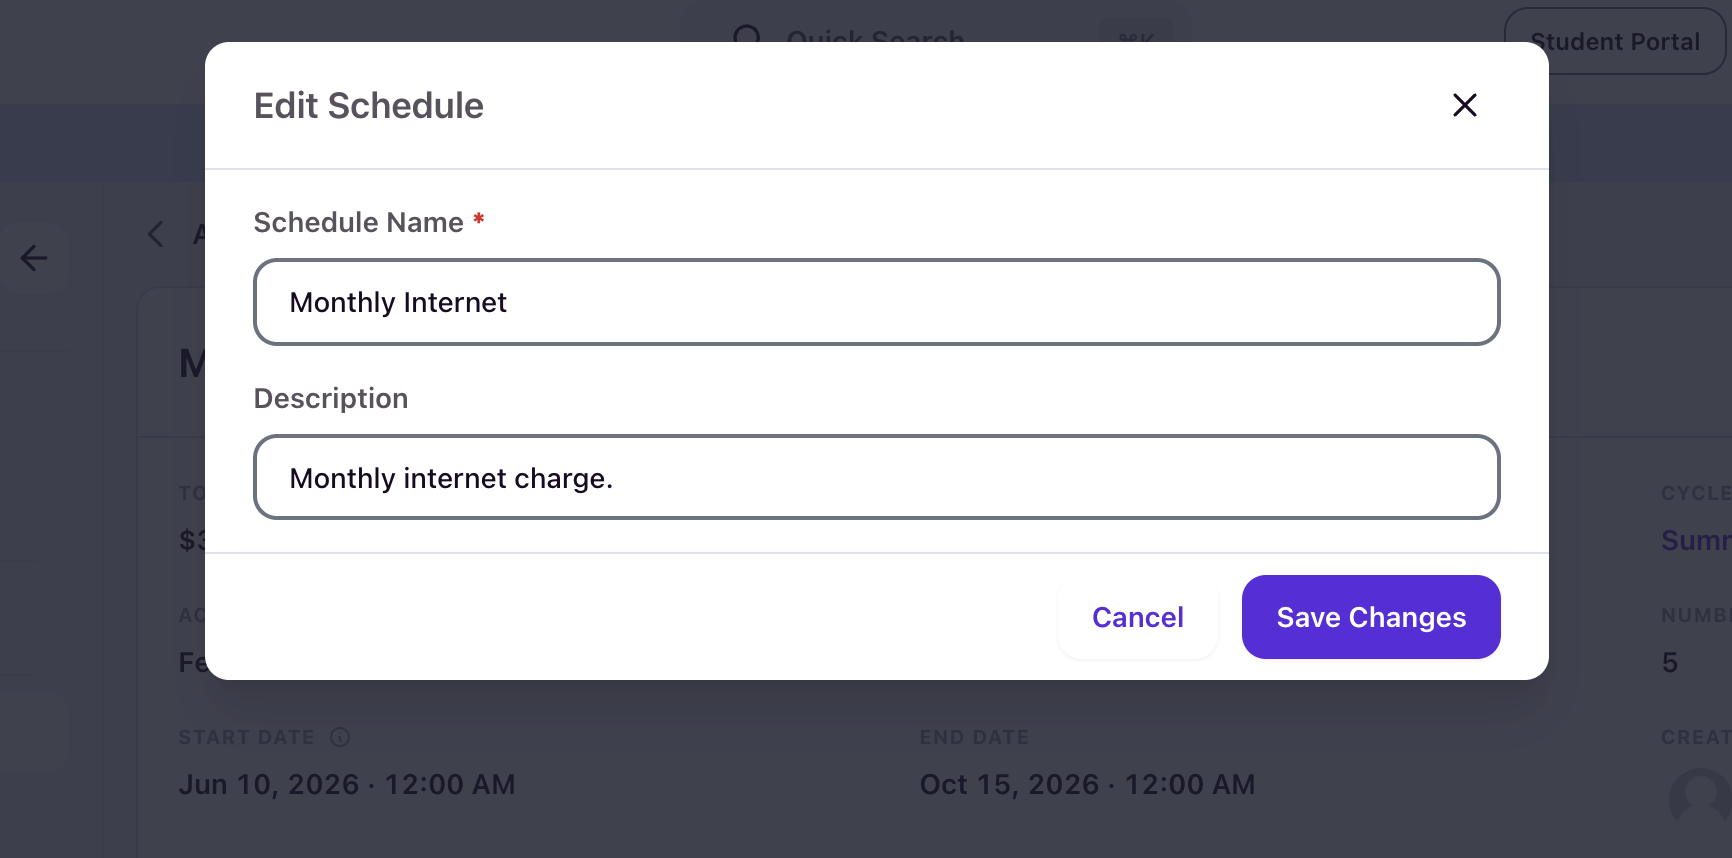
Select Edit Schedule from the Actions menu. Only the Schedule Name and Description can be changed — billing terms (amount, frequency, dates, occurrences) are locked once the schedule is created, whether or not residents are assigned. Make naming or context updates here; for different billing terms, copy the schedule and create a corrected one.
End a schedule
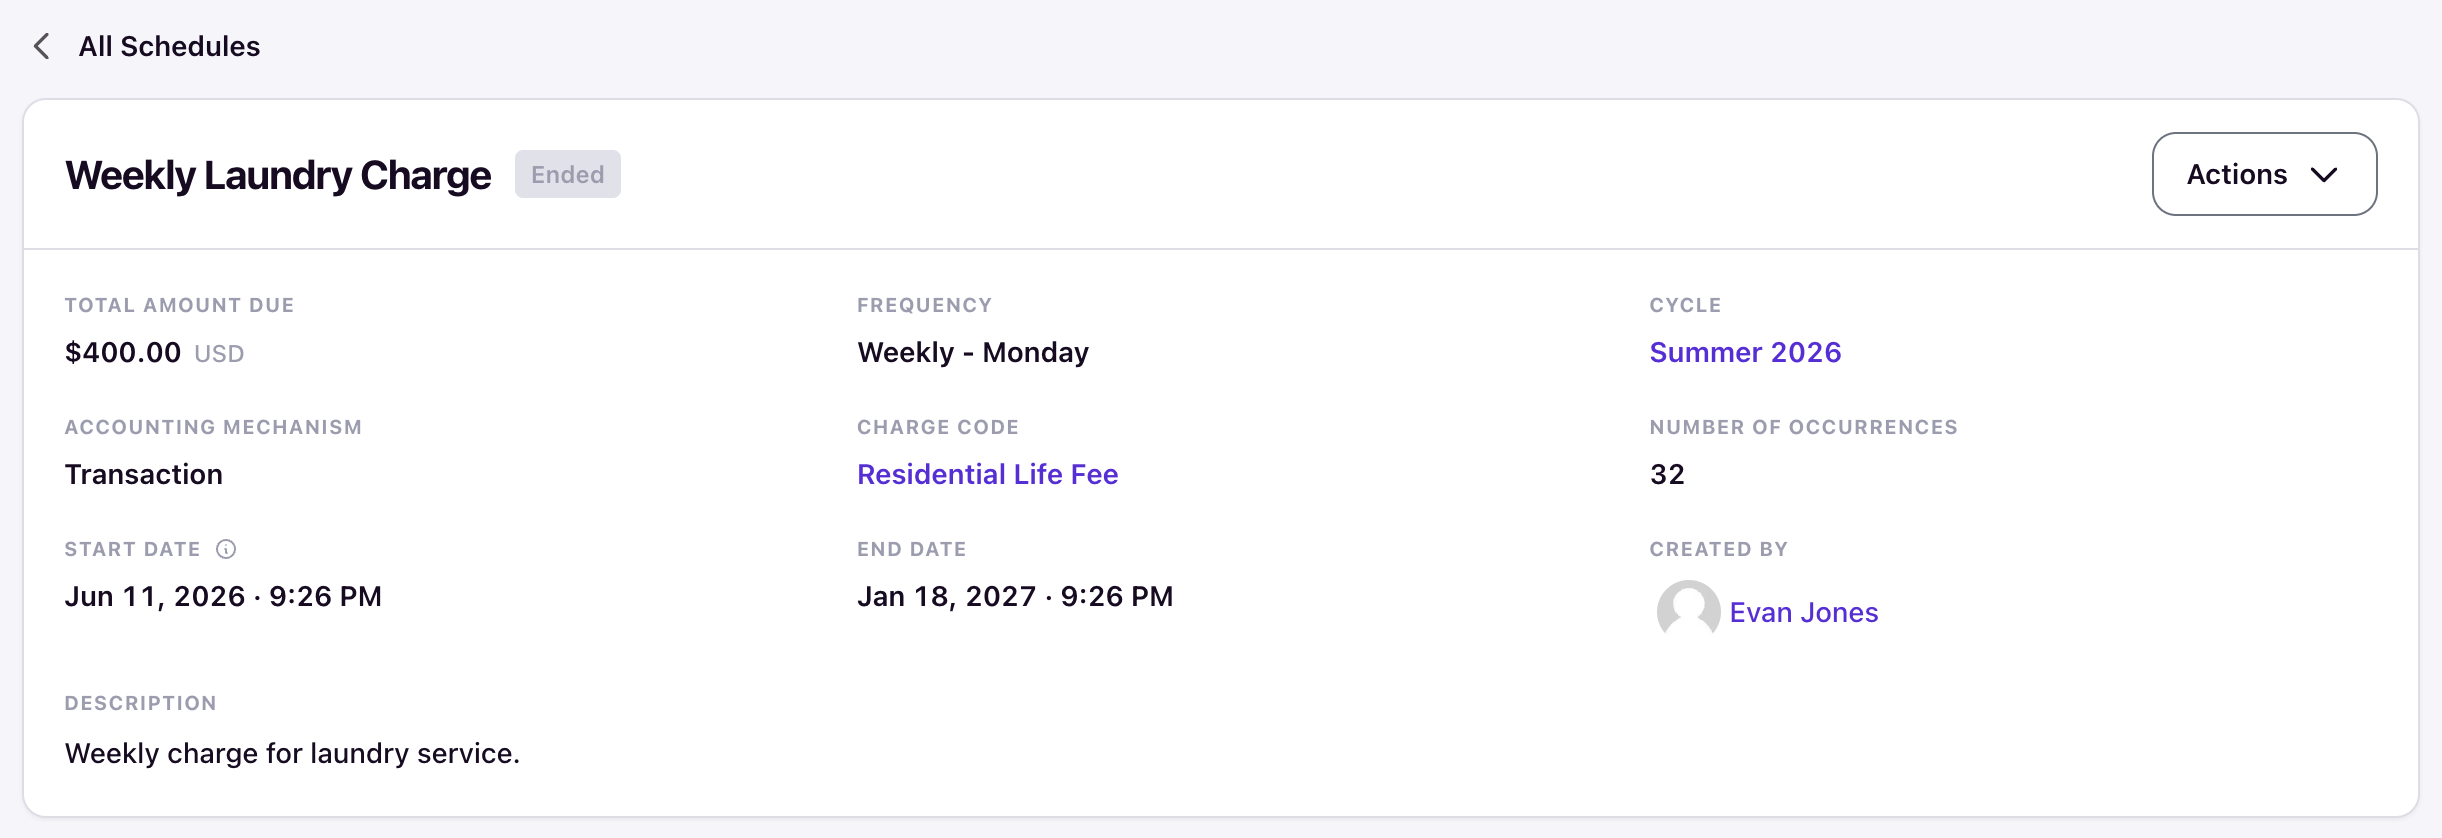
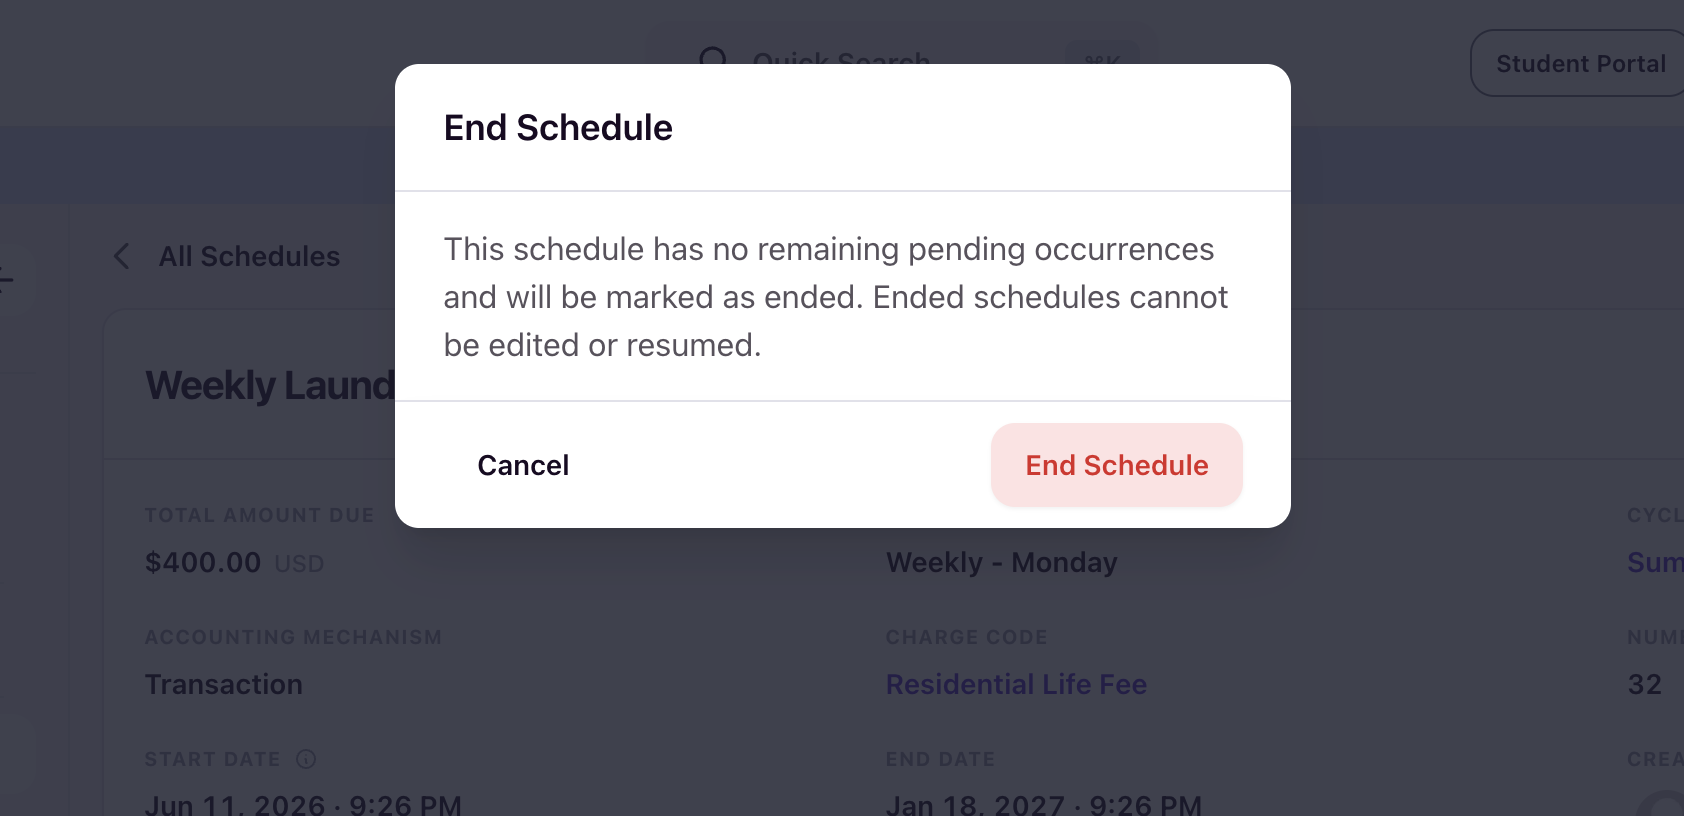
Ending a schedule stops it permanently and marks it Ended. End Schedule is only available when no residents are assigned to the schedule and there are no remaining pending occurrences.
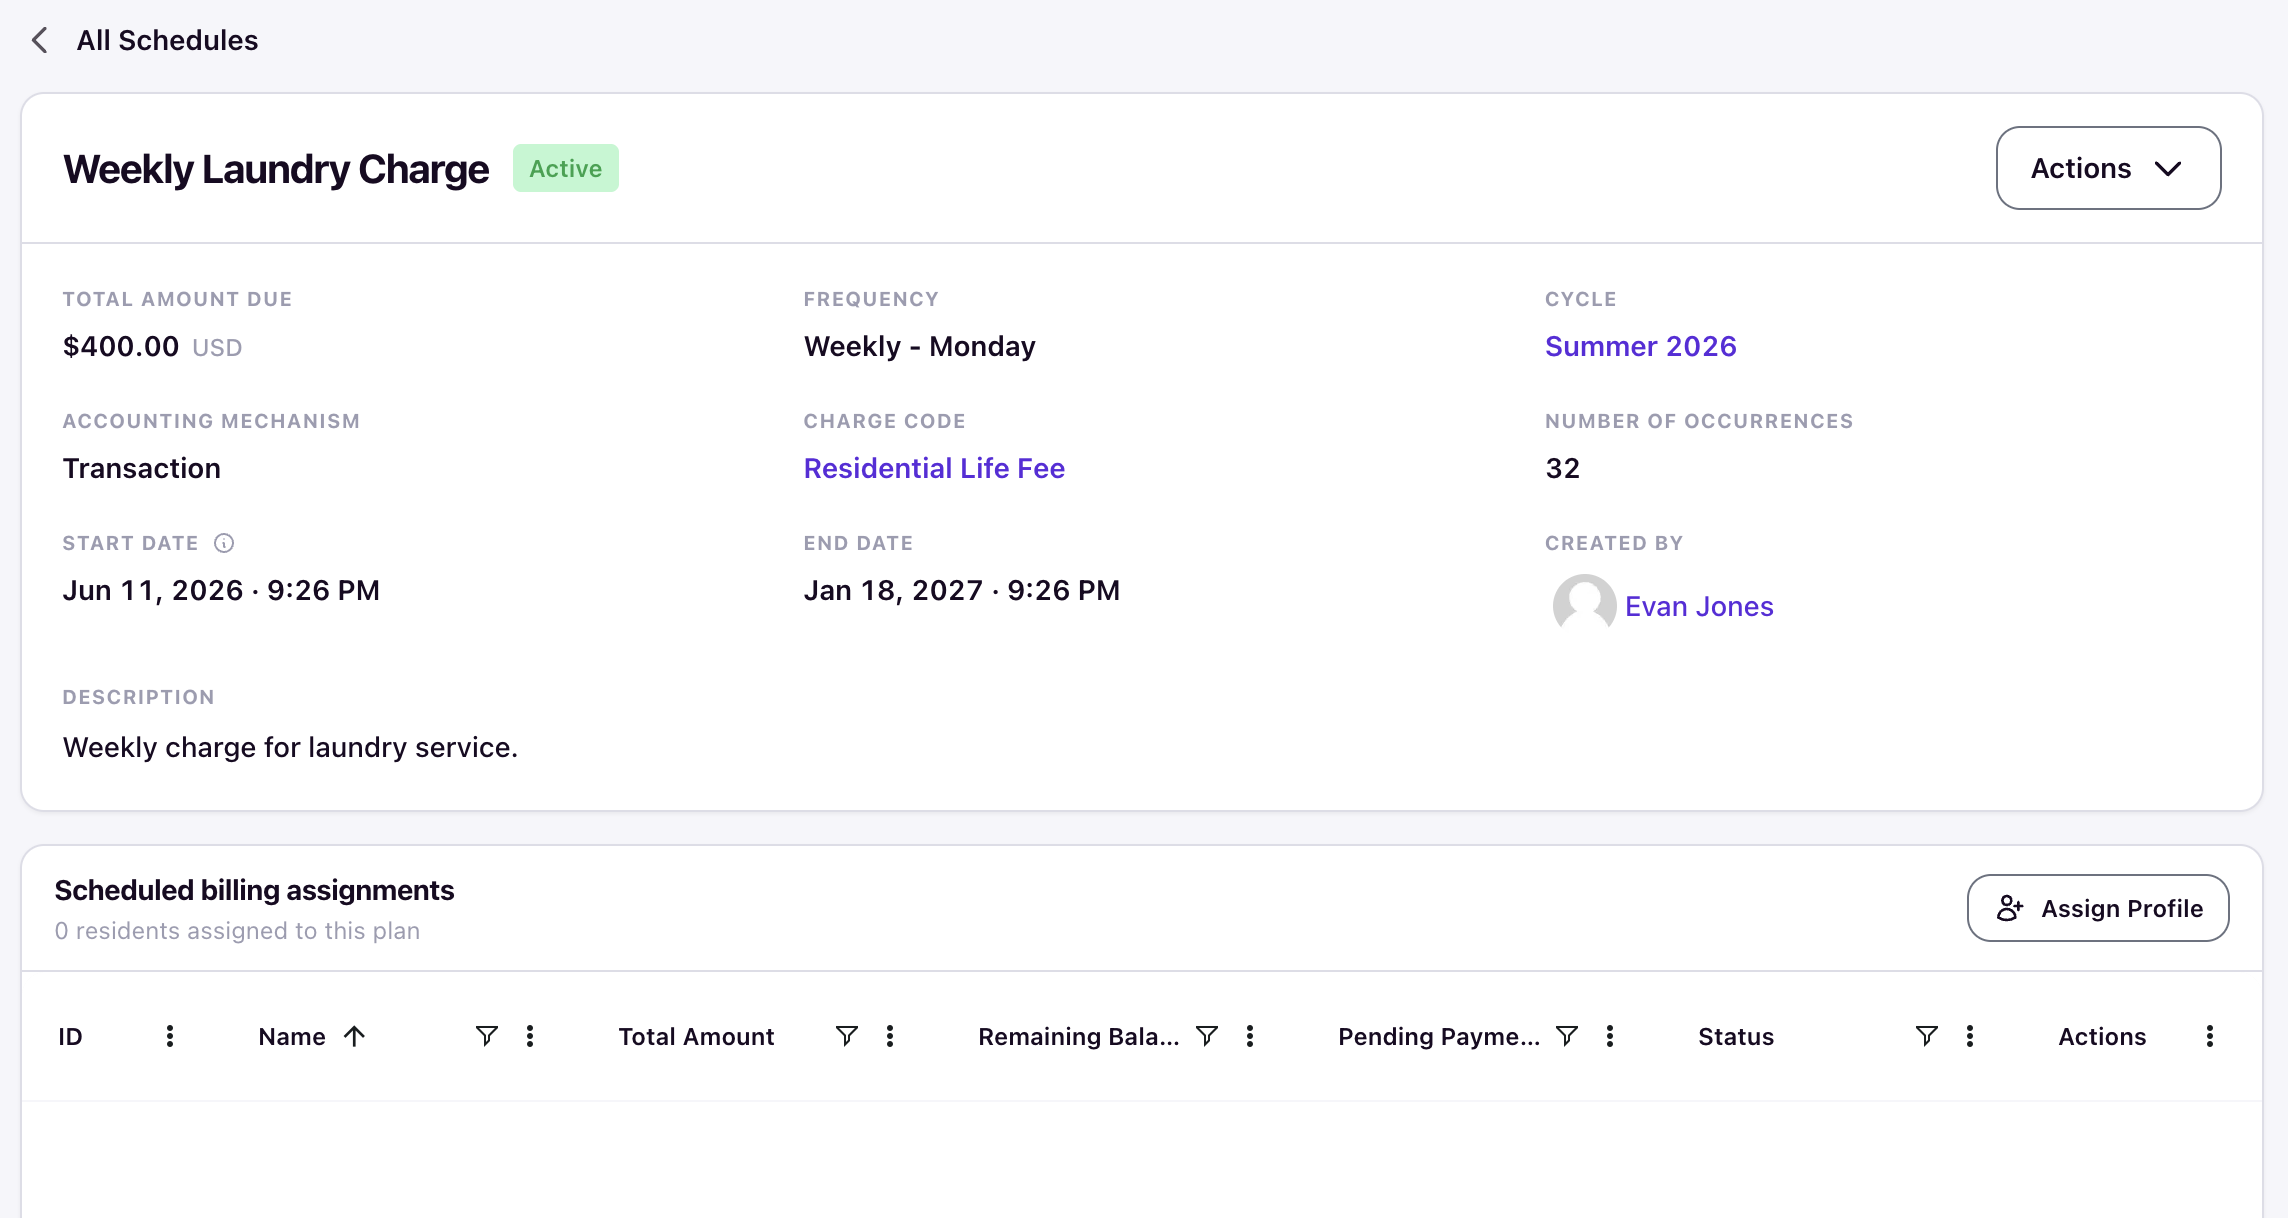
Select End Schedule from the Actions menu and confirm.
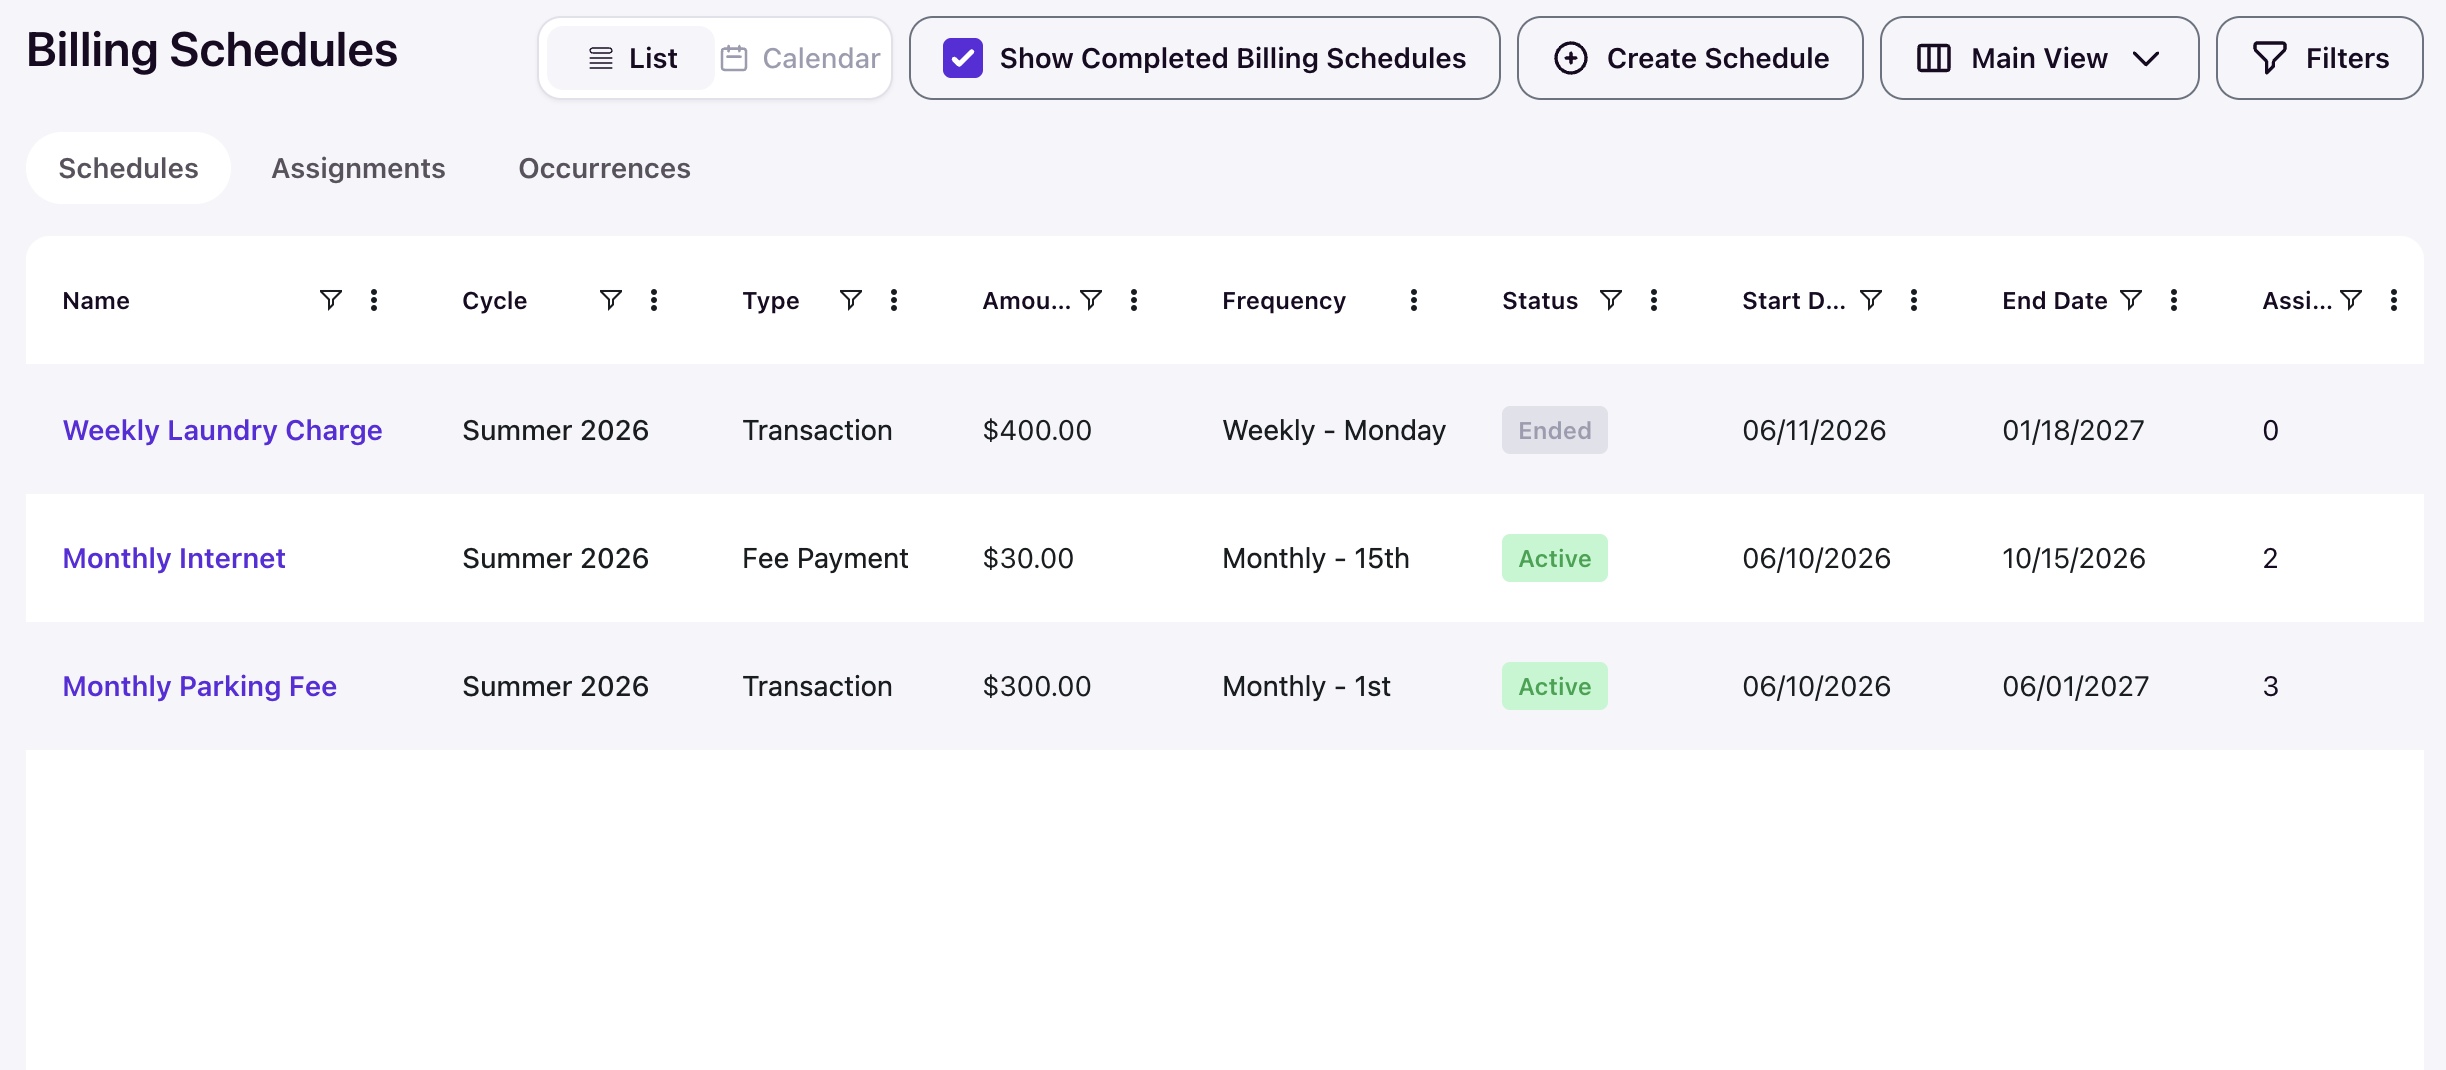
To view ended schedules, enable the Show Completed Billing Schedules toggle on the Billing Schedules tab. The schedules list shows each schedule's type (Transaction or Fee Payment), amount, frequency, status, dates, and assignment count.
Verify the result
After any lifecycle action, the schedule status updates on the schedule detail page (shown as a badge next to the schedule name). You can also see the status in the Billing Schedules list. Completed schedules are hidden by default; enable the Show Completed Billing Schedules toggle to include them.