Write and Publish a Help Article
Last updated: October 8, 2026
At Maple Hall… every October the desk gets a dozen "my room is cold" requests that need the same three steps. Sam writes them down once.
The article studio is where staff write and publish help articles for the resident help center. This article covers creating an article, writing it with the block editor, publishing it, editing it safely afterwards, and throwing away changes you don't want.
Before you start
You need two things:
The Manage help-center articles permission on your role.
The help center switched on for your school. Housing Cloud sets that switch, not the school.
Where the article studio lives
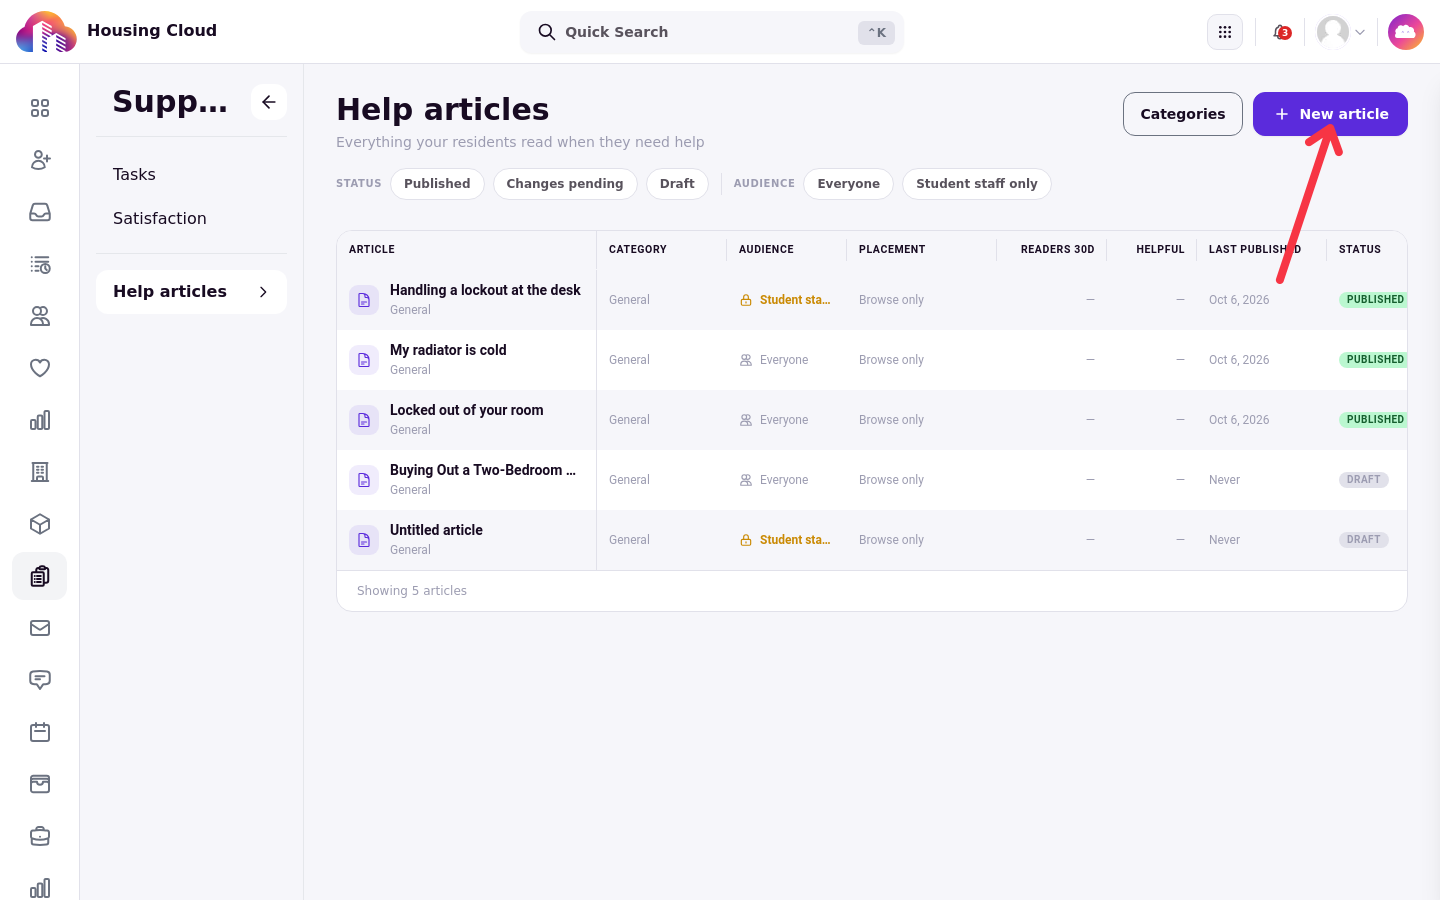
Open Support → Help articles in the admin menu. The page address is /admin/helpdesk, and the list there shows every article your school has written.
Starting a new article
New article creates the article straight away and opens it. There is no delete yet, so an article you abandon stays behind as an empty draft on the articles list.
The writing page
A new article opens in the studio. The category chip sits above the title, Article title is the title field, and the writing area says Click here to start writing.
Writing with blocks
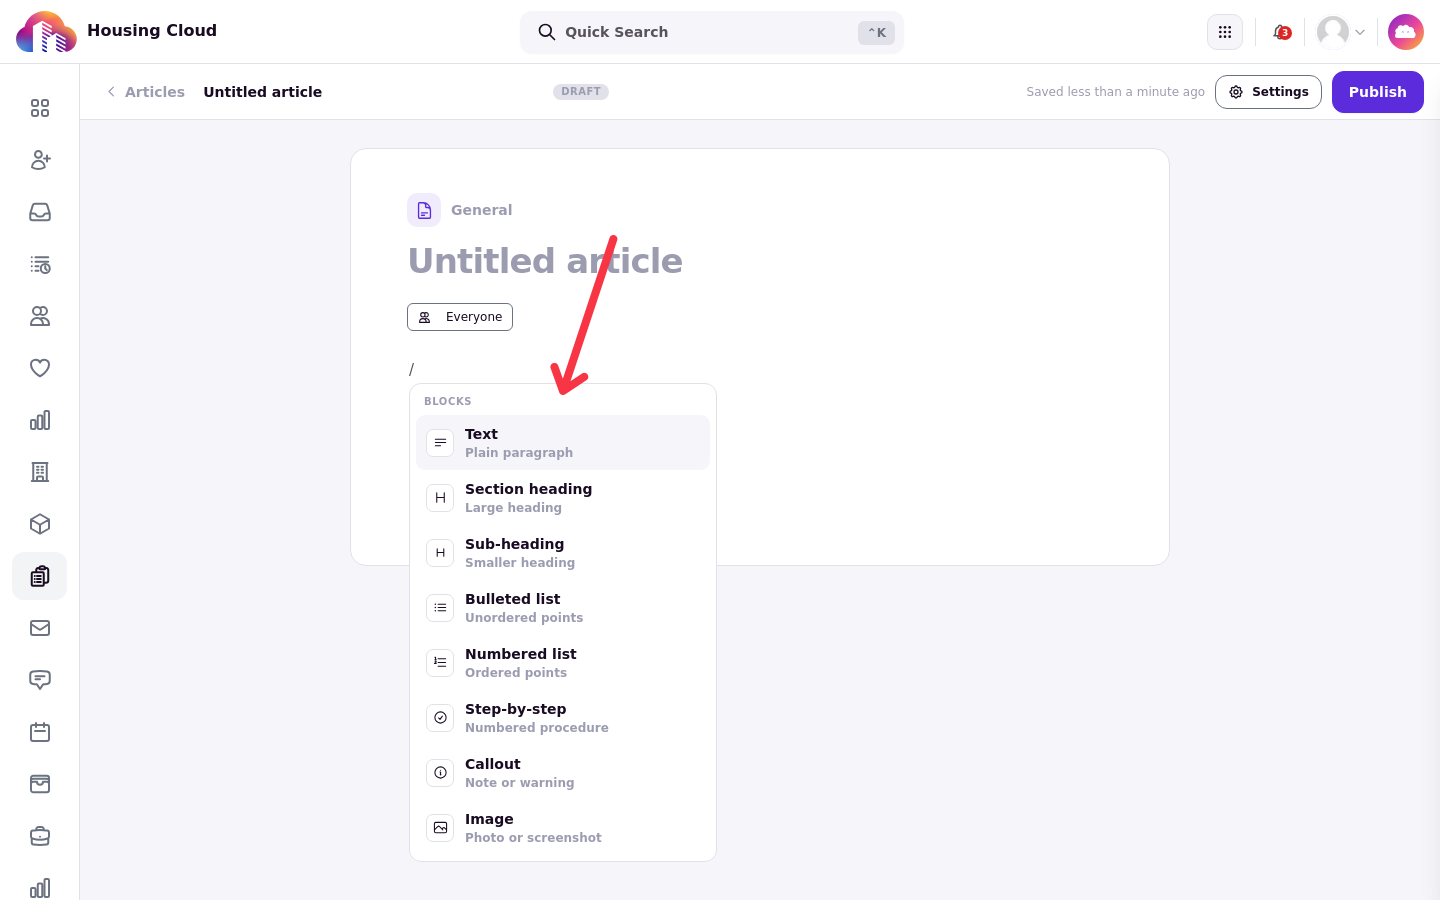
The studio works in blocks. Type / to open the block menu, which offers Text, Section heading, Sub-heading, Bulleted list, Numbered list, Step-by-step, Callout and Image. The handle beside a block adds a block, moves it, or turns it into another type. Select text to make it bold or italic, or to add a link.
Images
Upload a picture into an Image block, then type a caption under it.
Saving
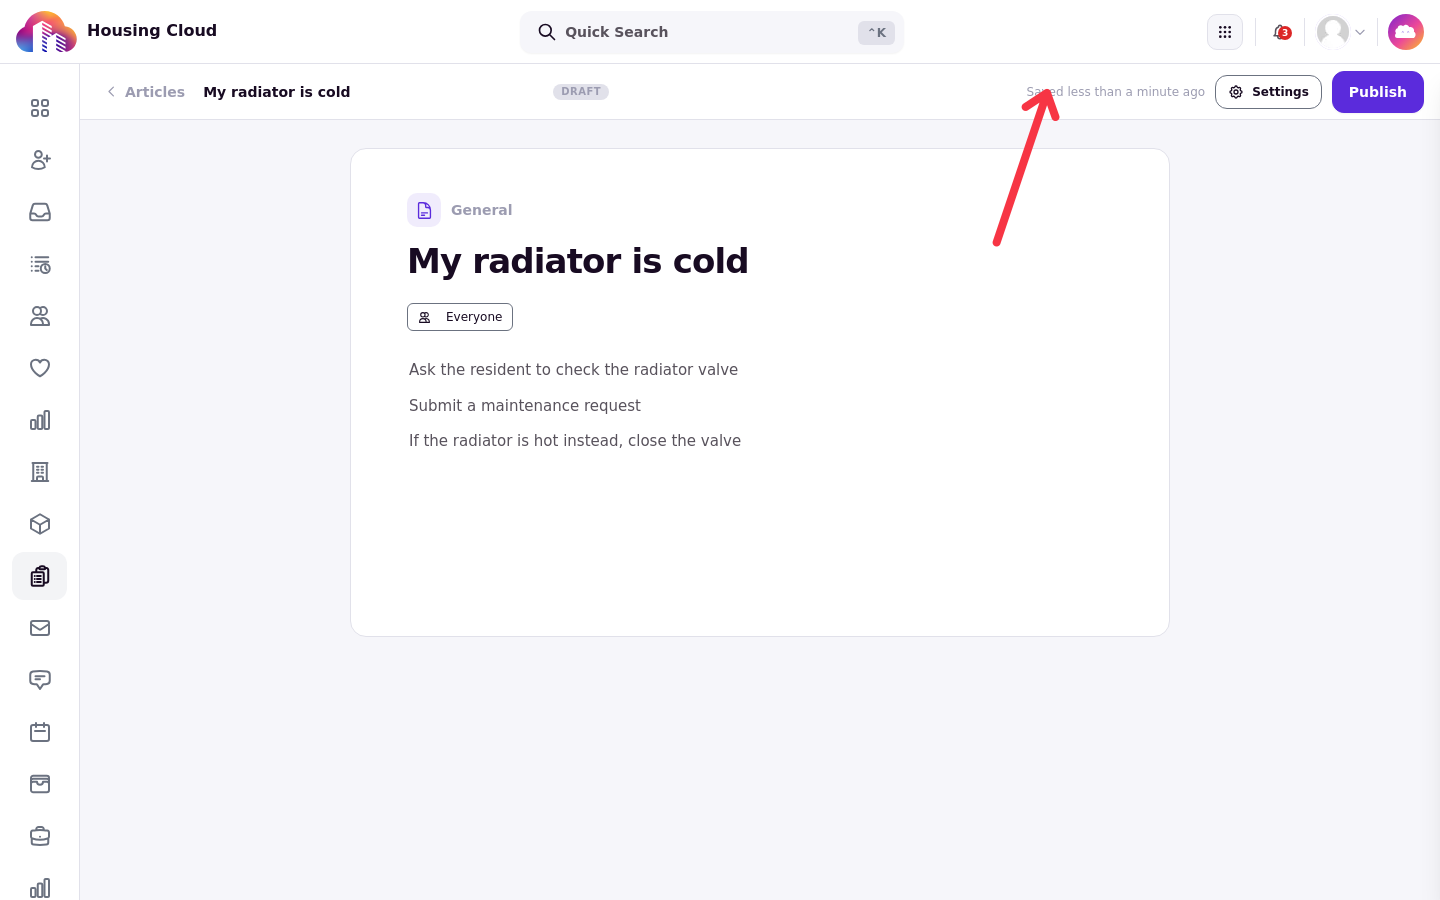
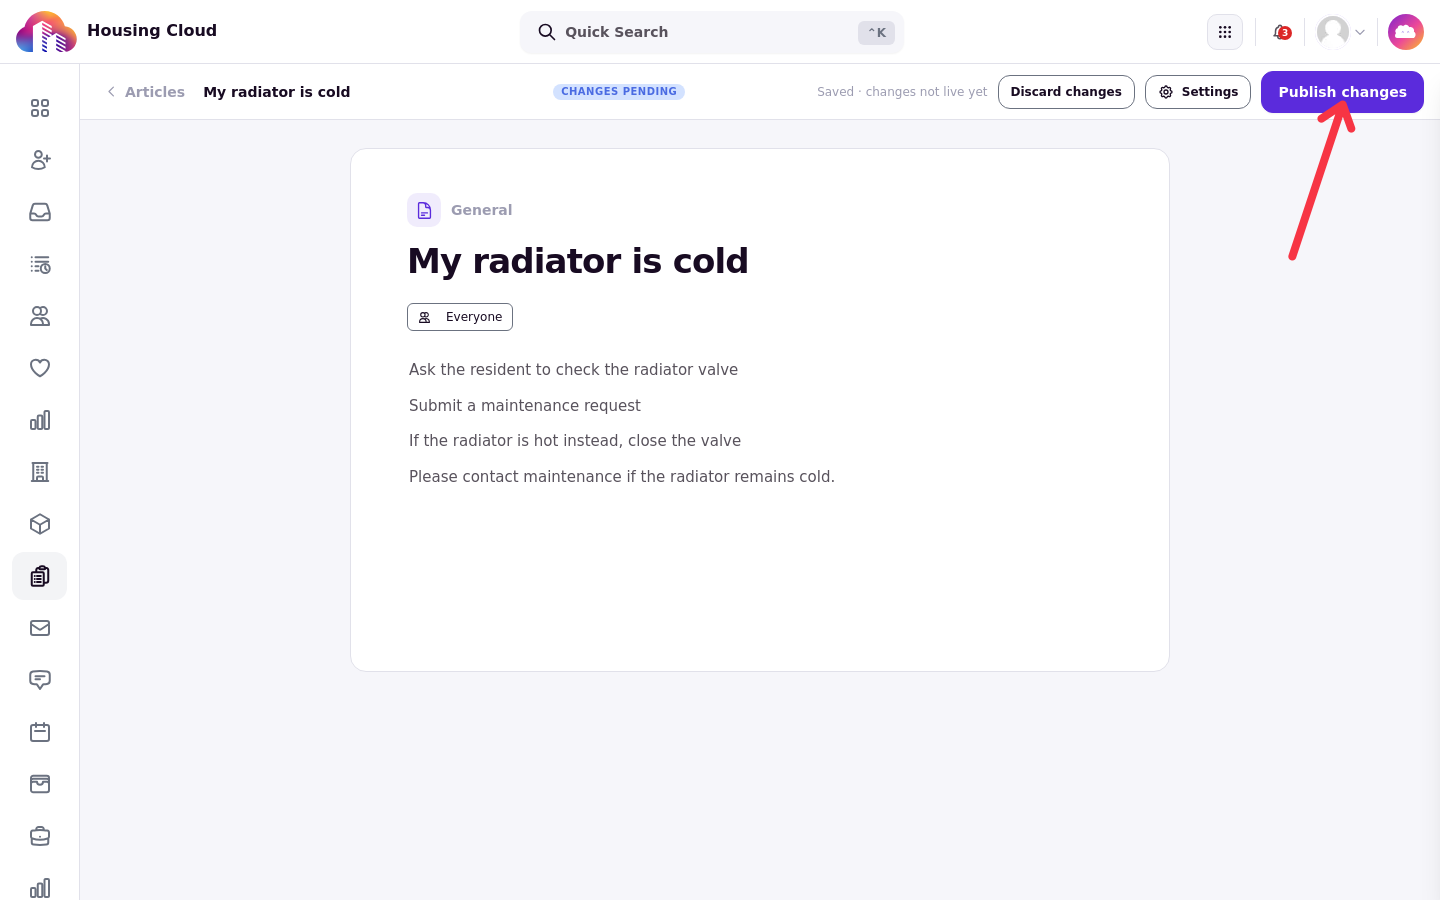
There is no Save button. The studio saves as you write: the header shows Saving changes… while it works, then Saved with how long ago the save happened, or Saved · changes not live yet while your edits are still waiting to be published.
Publishing
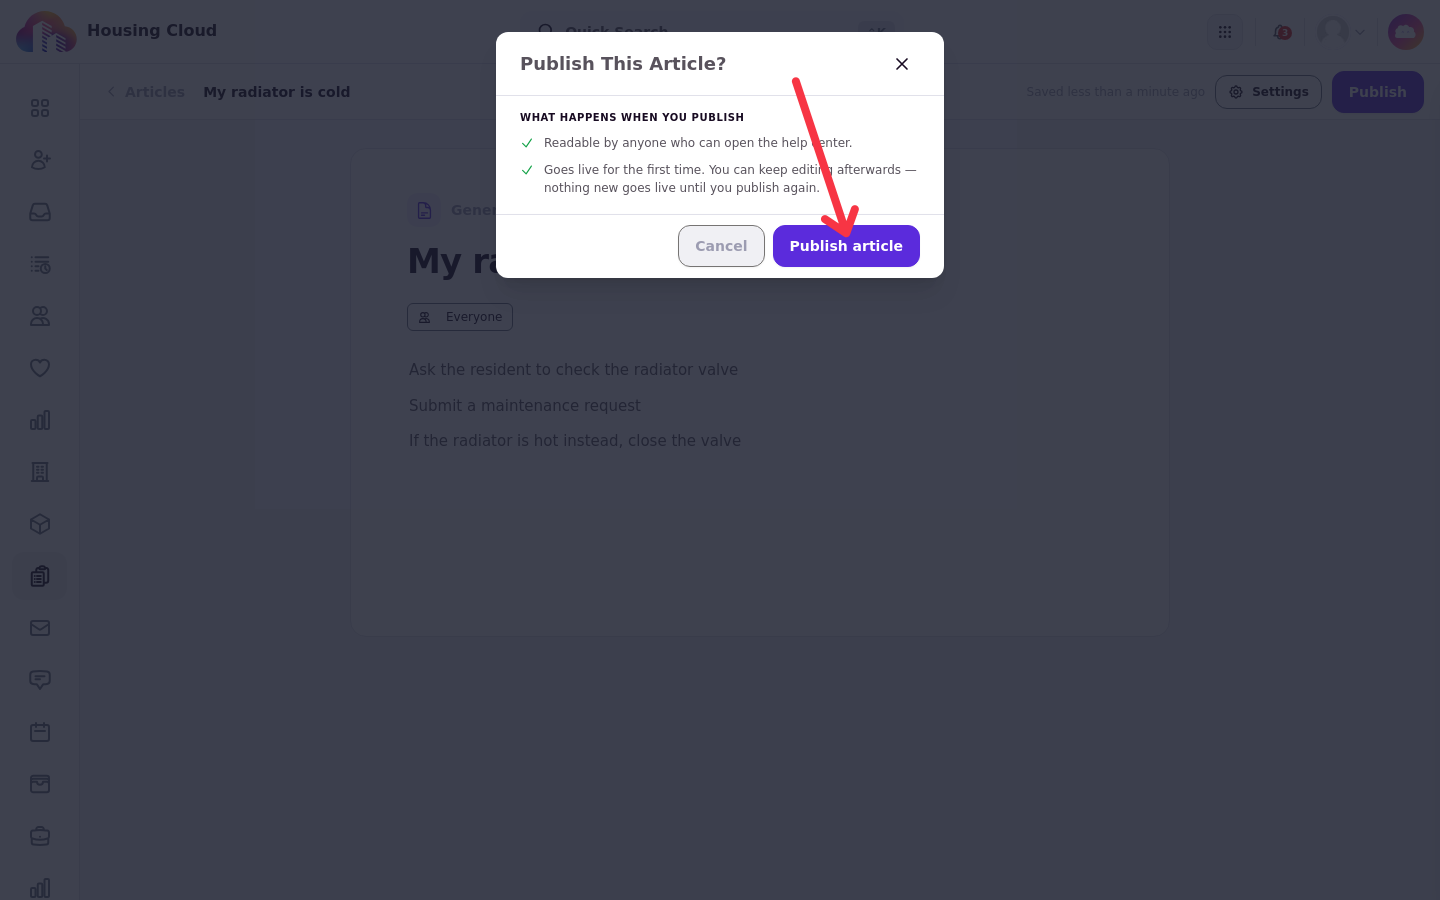
Publish opens a Publish this article? window that lists what will happen, including Goes live for the first time. The title and body must be filled in before an article can publish.
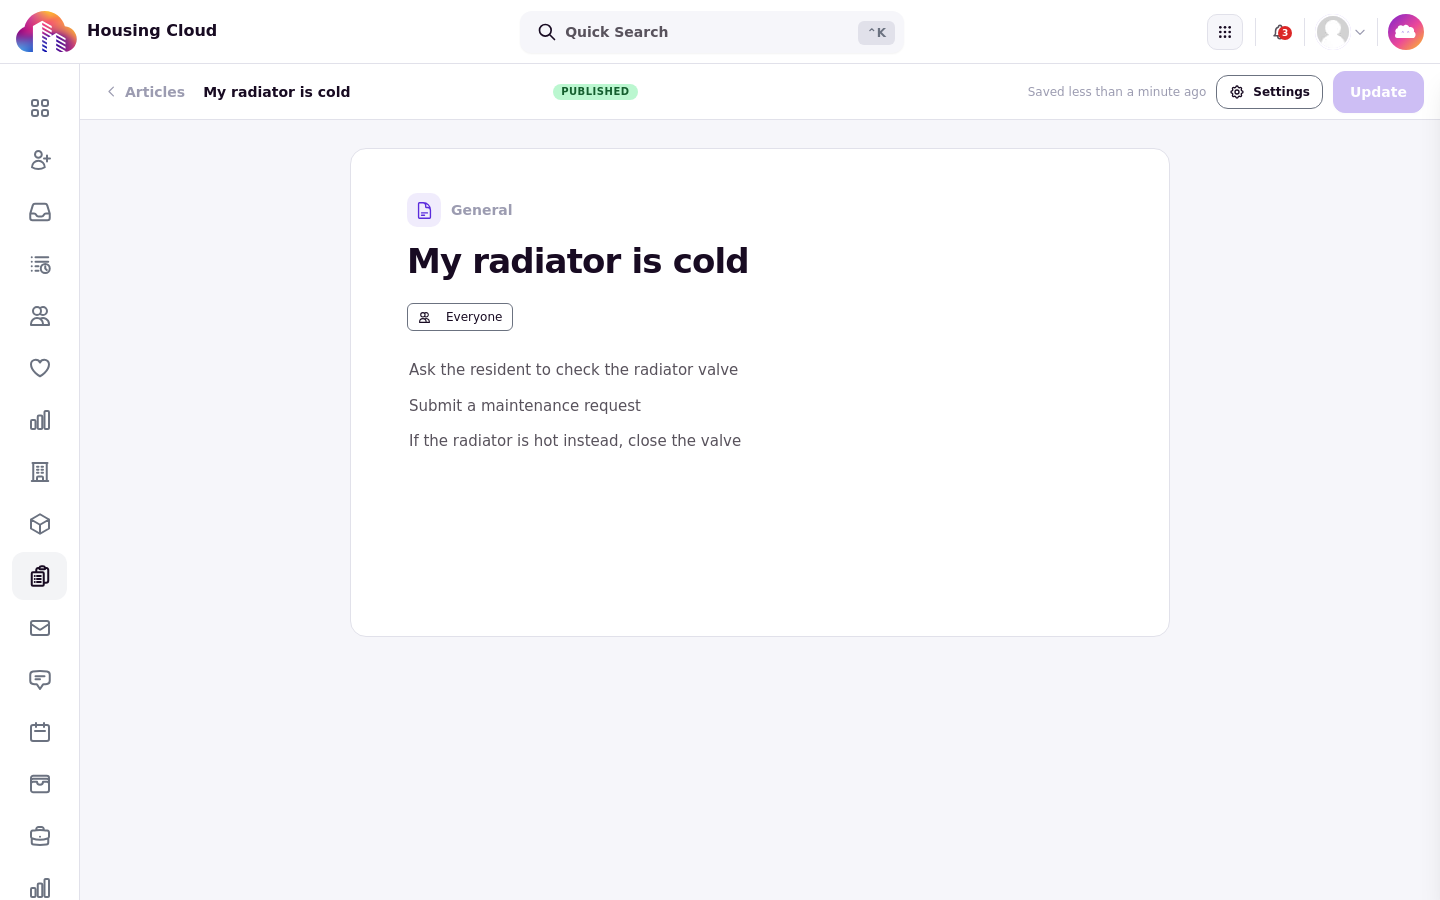
Editing after publishing
Once an article is published, your edits stay private until you click Publish changes, which replaces the version students see now. The status shows Changes pending in the meantime, so residents keep reading the last published version while you work.
Throwing away changes
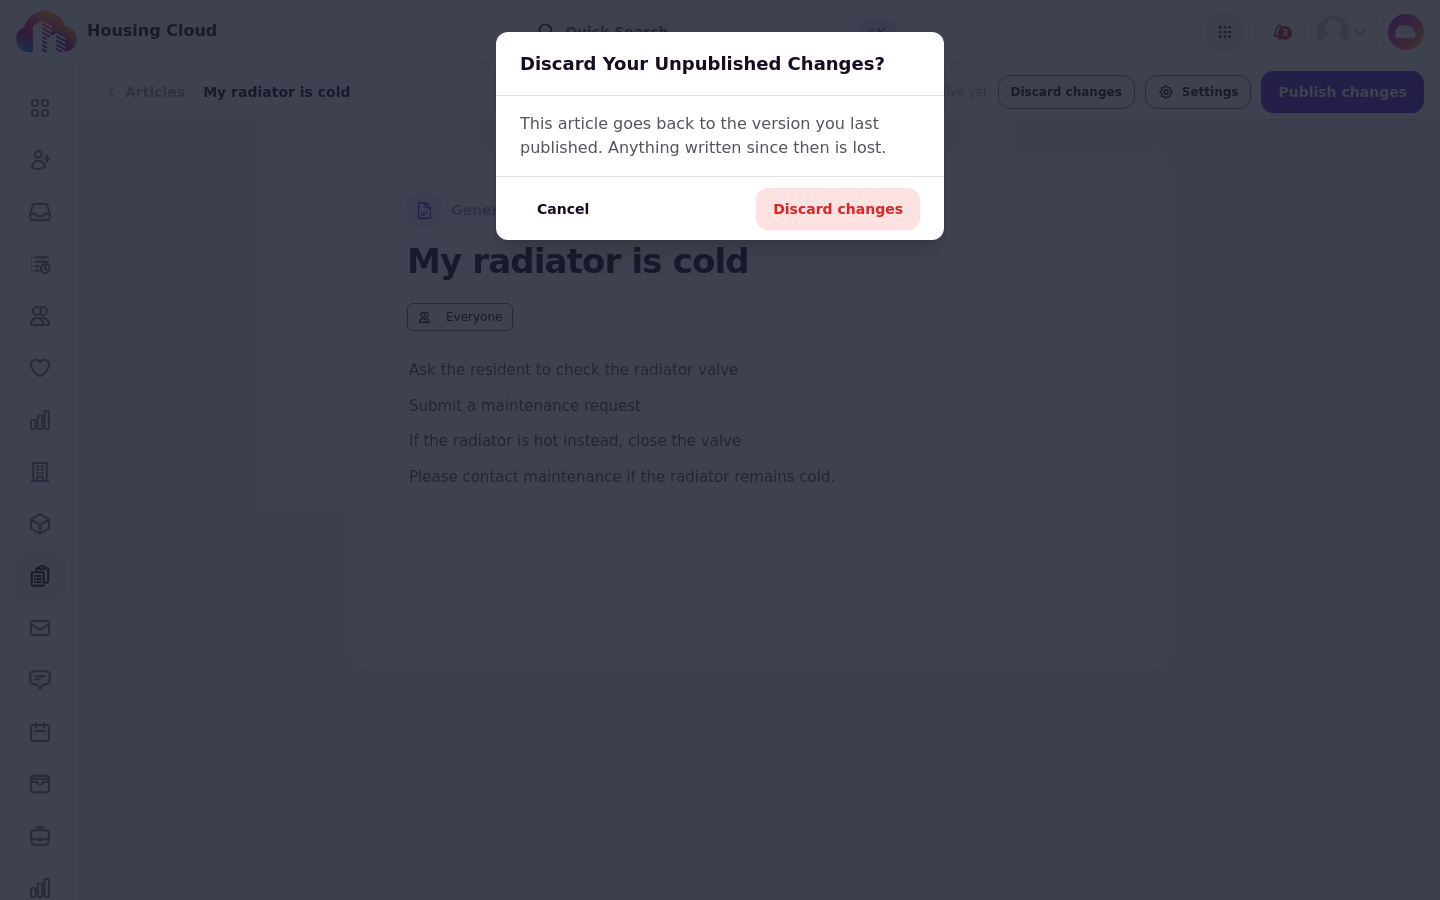
Discard changes returns the article to its last published version. Anything written since then is lost.
Taking an article away from residents
There is no unpublish. To take a live article away from residents, set it to Student staff only and publish, which narrows who can read it.
Good to know
Help articles can't be unpublished or deleted. New article creates one straight away, so a misclick leaves an empty draft. To hide a live article from residents, set it to Student staff only and publish.
Related articles
7 · Organize Help Articles into Categories
8 · Choose Who Sees an Article and Where It Appears
9 · Link to Portal Pages, Request Forms and Other Articles
10 · The Help Articles List: Status, Readers and Helpful Votes
11 · What Residents See in the Help Center