Create Animal Custom Fields
Last updated: October 8, 2026
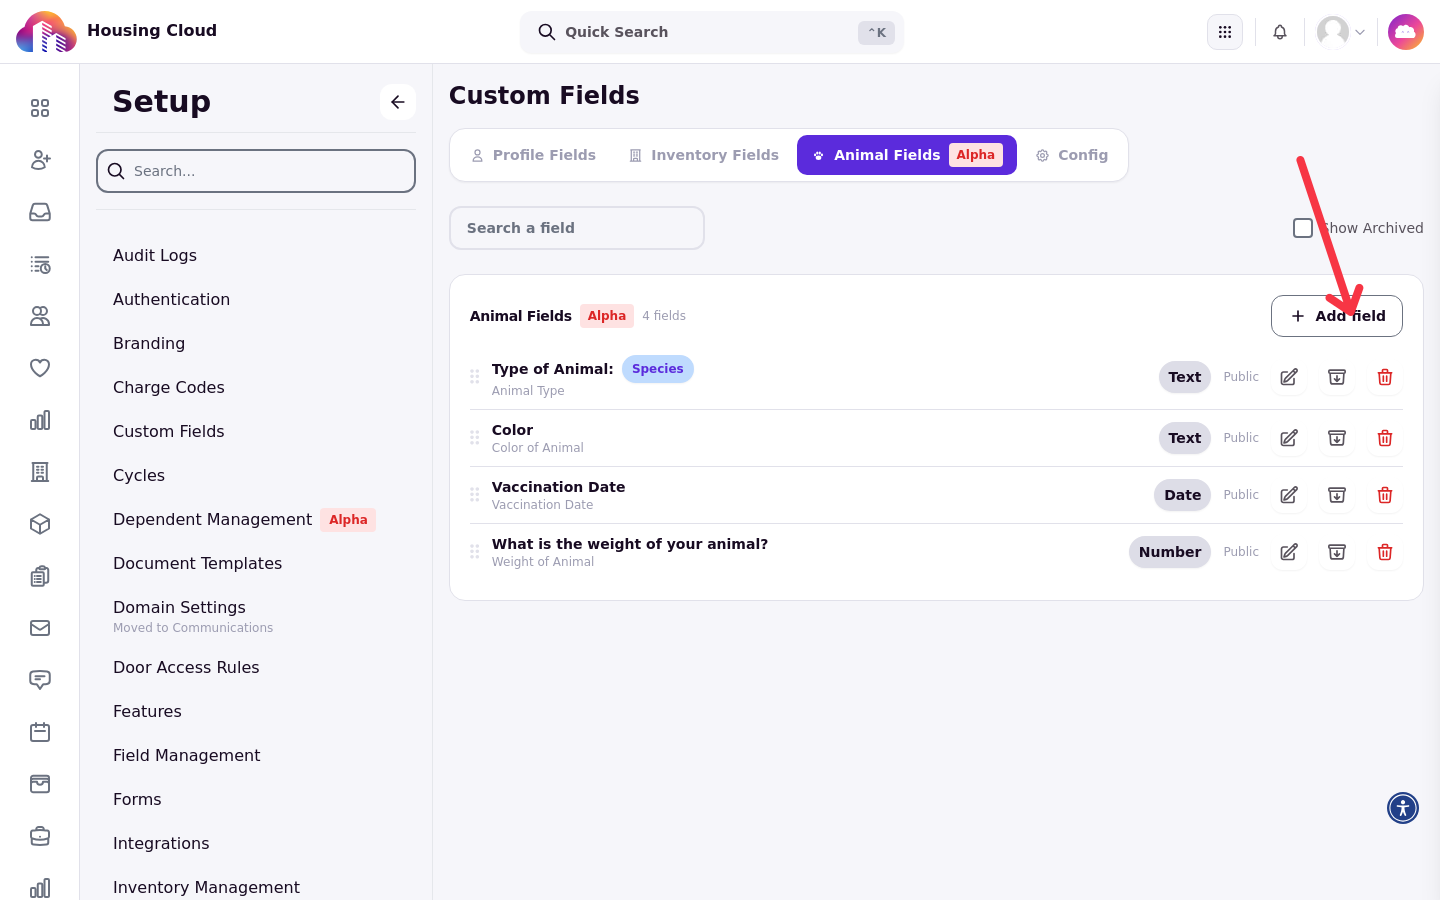
Animal custom fields let you build an attribute record for each animal in your community, the same way custom profile fields capture attributes of a student. Use them for details such as type of animal, color, vaccination date, or weight. You configure them in admin setup under the Animal Fields tab.
Animal fields work like the custom profile fields you already use for students, but they describe the animal related to that student instead of the person. Data collected through them lands on the animal profile, where staff can filter it, export it, and show it as columns, instead of being trapped inside form responses.
Fields are defined tenant-wide and appear for staff and, depending on visibility, for the animal's owner during the animal application. Create all the fields you need before launching an animal application for a housing cycle, so the application collects complete animal profiles.
Before you start
Managing animal fields requires the Manage animal custom fields permission.
Create a field
Each field has an internal name and an optional display name. The Name is the internal name and is required. The Display name is optional; its help text reads "Optional. Shown to staff in place of the internal name." Use the display name when you want friendlier, plainer wording than the internal name, such as "What is the weight of your animal?" instead of a short internal label.
Give every attribute of the animal you want to track its own field, the same way you would for student profile fields like classification or anticipated graduation year.
Choose who can see the field
Visibility is set to Admin only or Public. The setting's help text states: "Who can see this field's values. Public means the animal's owner sees it on their form AND must fill it in before they can submit."
Public fields are answered by the student during the animal application, so use them for details the owner knows best, such as the animal's weight or vaccination date. Admin only fields stay internal to staff. For example, use an admin only field to track an approval-through date from Disability Services, so staff know which students must reapply.
Choose the response type
Each field accepts one of these response types: Text, Number, Date, Link, Single select, or Multi select.
Choose Number when the answer must be a number, such as the animal's weight. Choose Date for dates like the last vaccination date, and select types when you want to standardize the answers staff filter on later.
Designate a field as Species or Breed (Optional)
A field can be designated Species or Breed instead of Not designated. There can be one Species field and one Breed field per campus.
Designated fields display their value beneath the animal's name and avatar, the way a student's ID number appears near their profile picture. Use this to call out the animal's identity at a glance on the animal profile.
Reorder, archive, or delete fields
Fields can be reordered, archived, and deleted after creation. Reorder them so the animal application walks owners through the fields in the order you want.
What happens next
After you create a field, it becomes part of the animal application for the housing cycle and its values land on the animal profile, where staff can filter, export, and show them as columns. Verify your field list in admin setup under the Animal Fields tab.