Manage Animal Profiles
Last updated: October 8, 2026
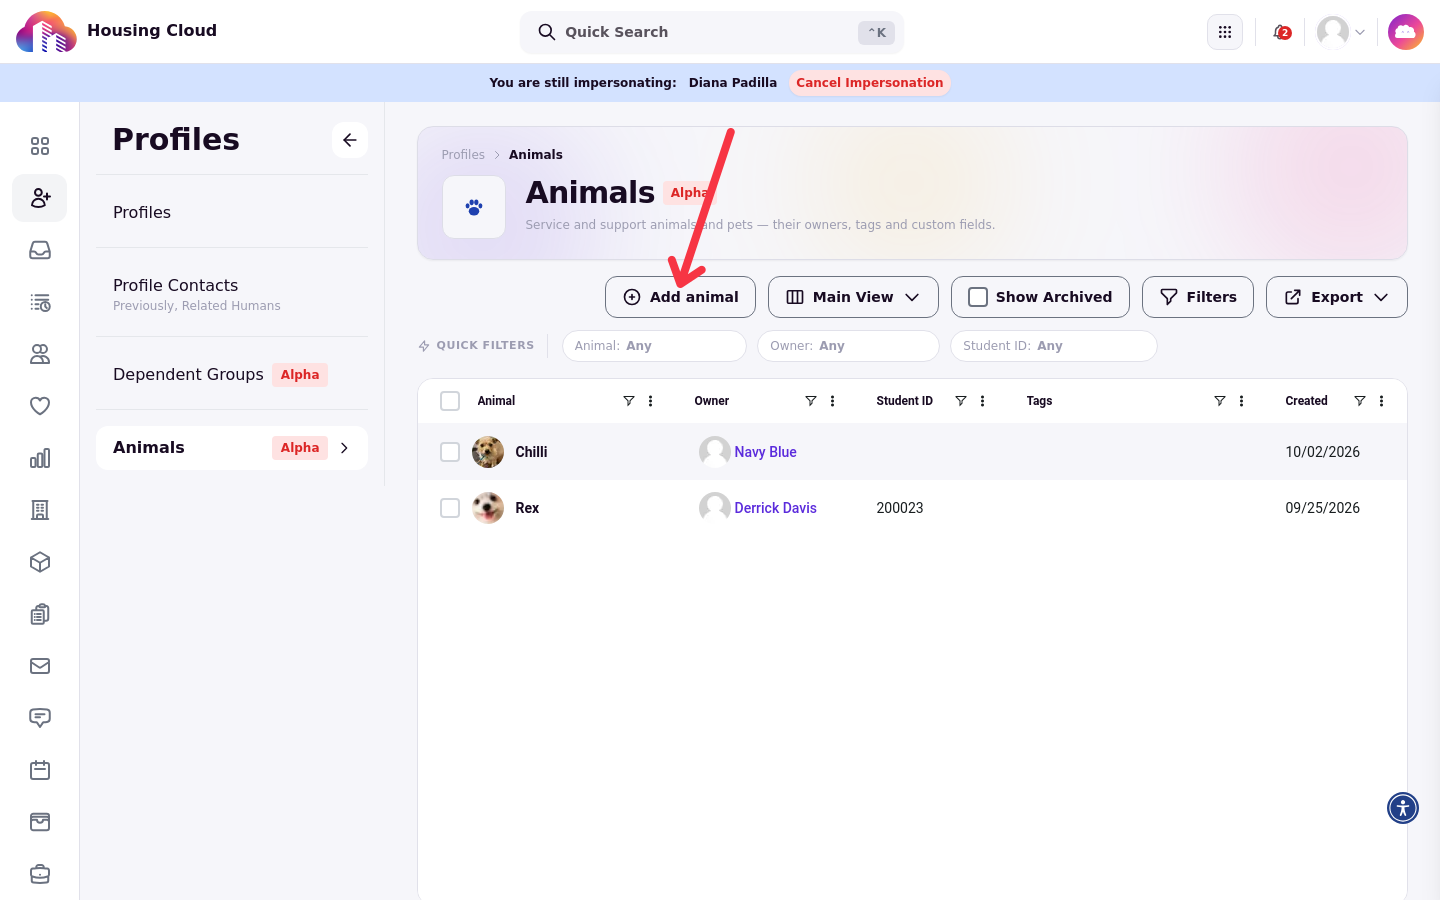
Animal profiles work like student profiles, but condensed: animals do not submit forms or have transcripts, so their pages carry only the details you need to manage them. The Animals roster lives under Profiles, on the page titled Animals.
Every animal relates back to the student who owns it. Roster rows show the owner, and the animal's profile links to that student's Residencies and Applications, so you can always trace an animal to the person responsible for it.
Before you start
Access to animals is controlled by permissions, and the feature is enabled per campus.
The Animals feature is enabled per campus. If you do not see the Animals page under Profiles, contact Housing.Cloud to have it enabled.
Viewing animals requires the View animals permission.
Creating animals requires the Add animals permission.
Editing an animal requires the Edit animal details permission.
Writing notes requires the animal notes permission.
Archiving and restoring animals requires the Archive and restore animals permission.
Find animals on the roster
The roster supports quick searches and saved views, the same way other list pages do.
Use the quick filters to search by Animal, Owner, or Student ID.
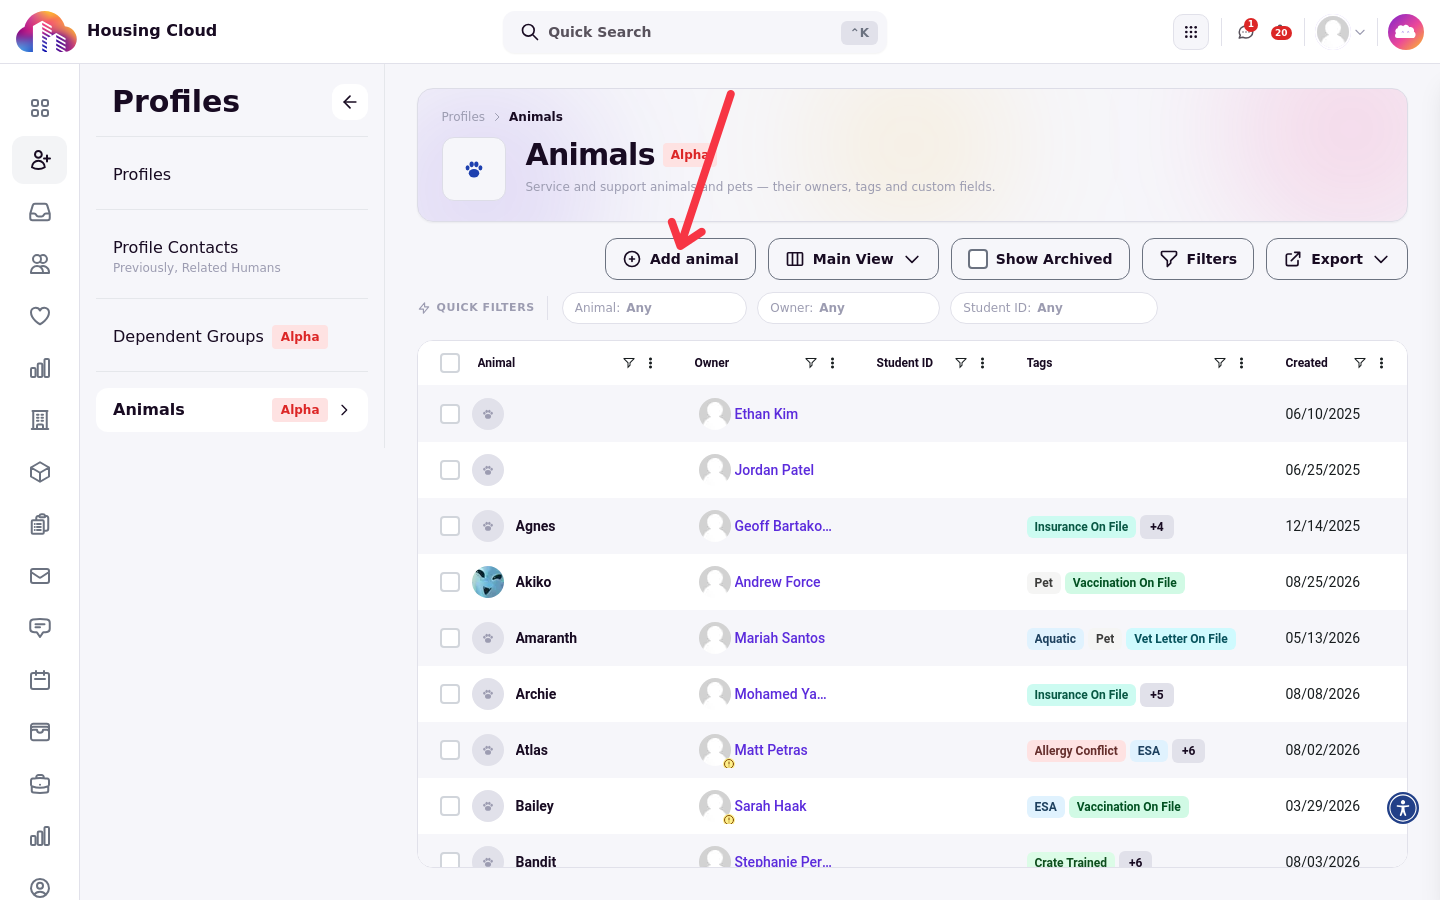
For narrower results, open the Filters panel and add additional conditions, such as tags, created date, or a custom field.
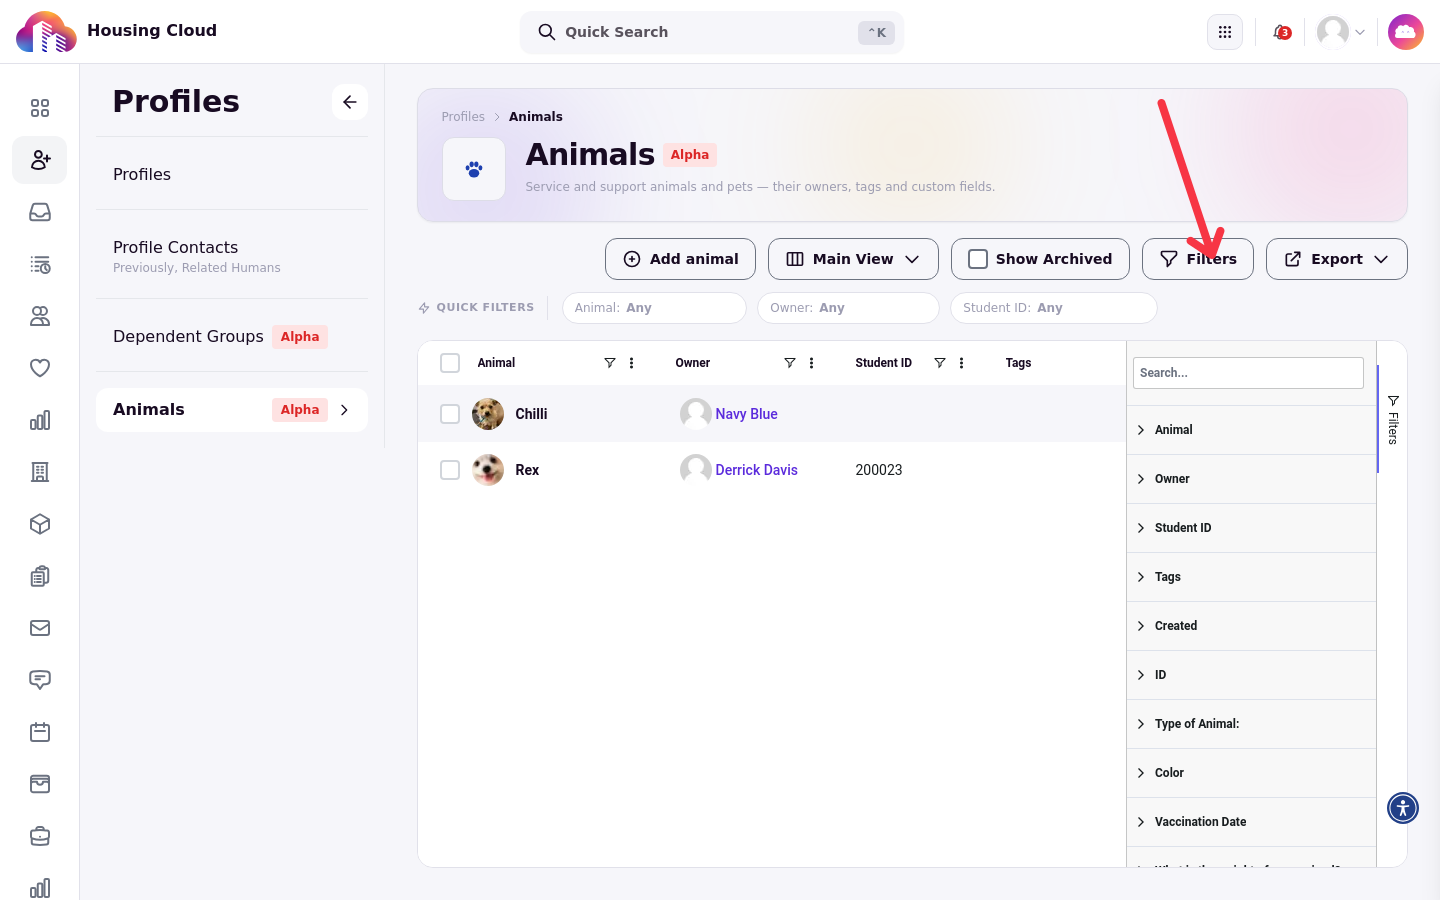
Saved views are shared with other list pages: views you create on other lists are available here, and views can be renamed, saved, and deleted.
Choose columns
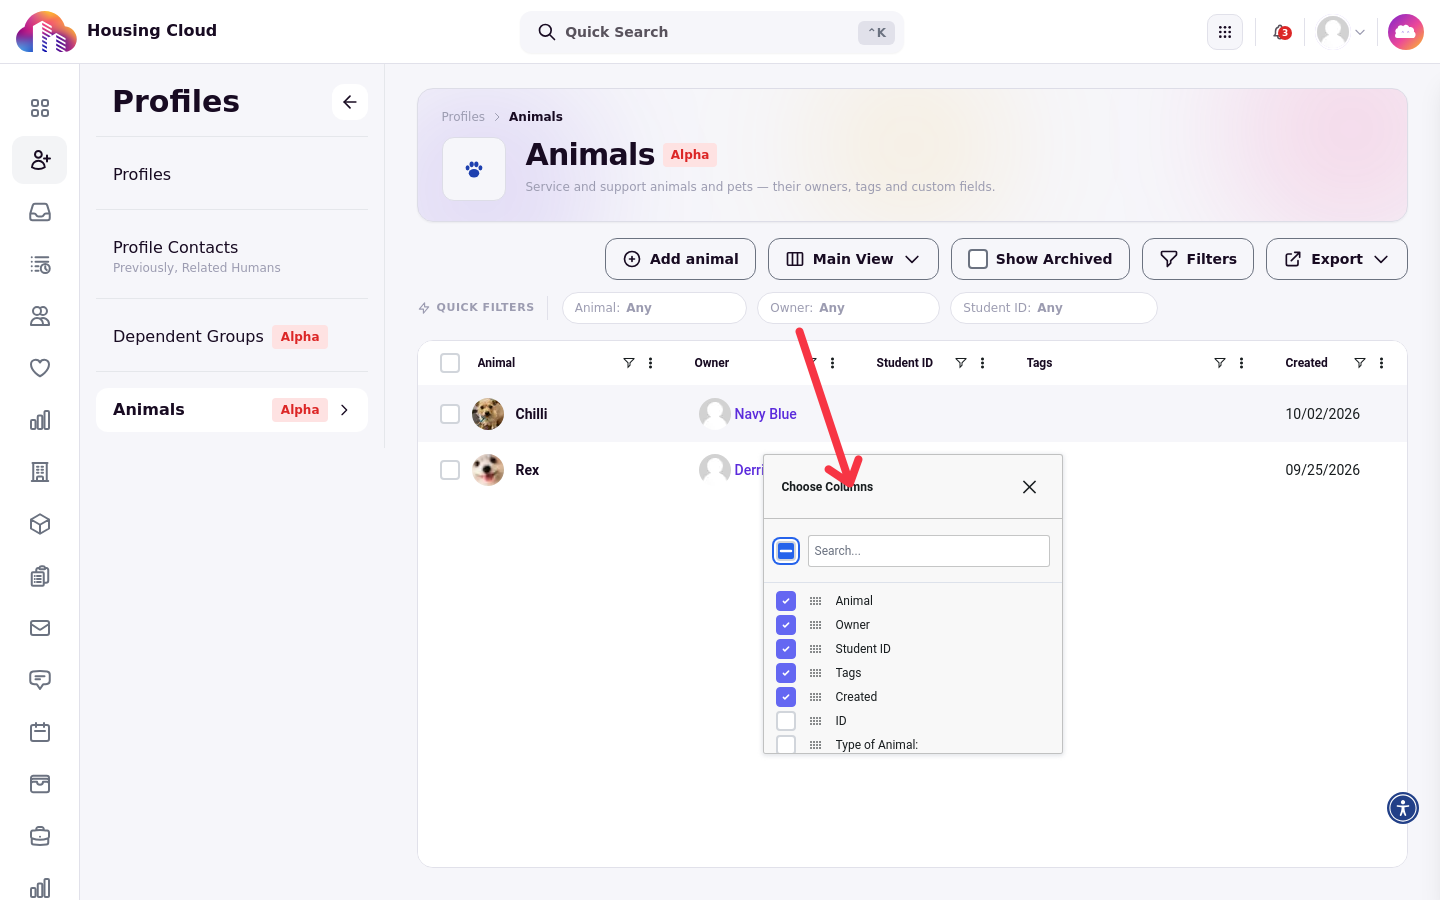
The roster shows Animal, Owner, Student ID, Tags, and Created by default. Choose Columns can add the animal ID and one column per non-archived animal custom field, for example species, color, vaccination date, or weight.
Export the roster
Selected columns control exports only when the export-column-selector feature is enabled for your campus; otherwise, exports include the full permitted column set.
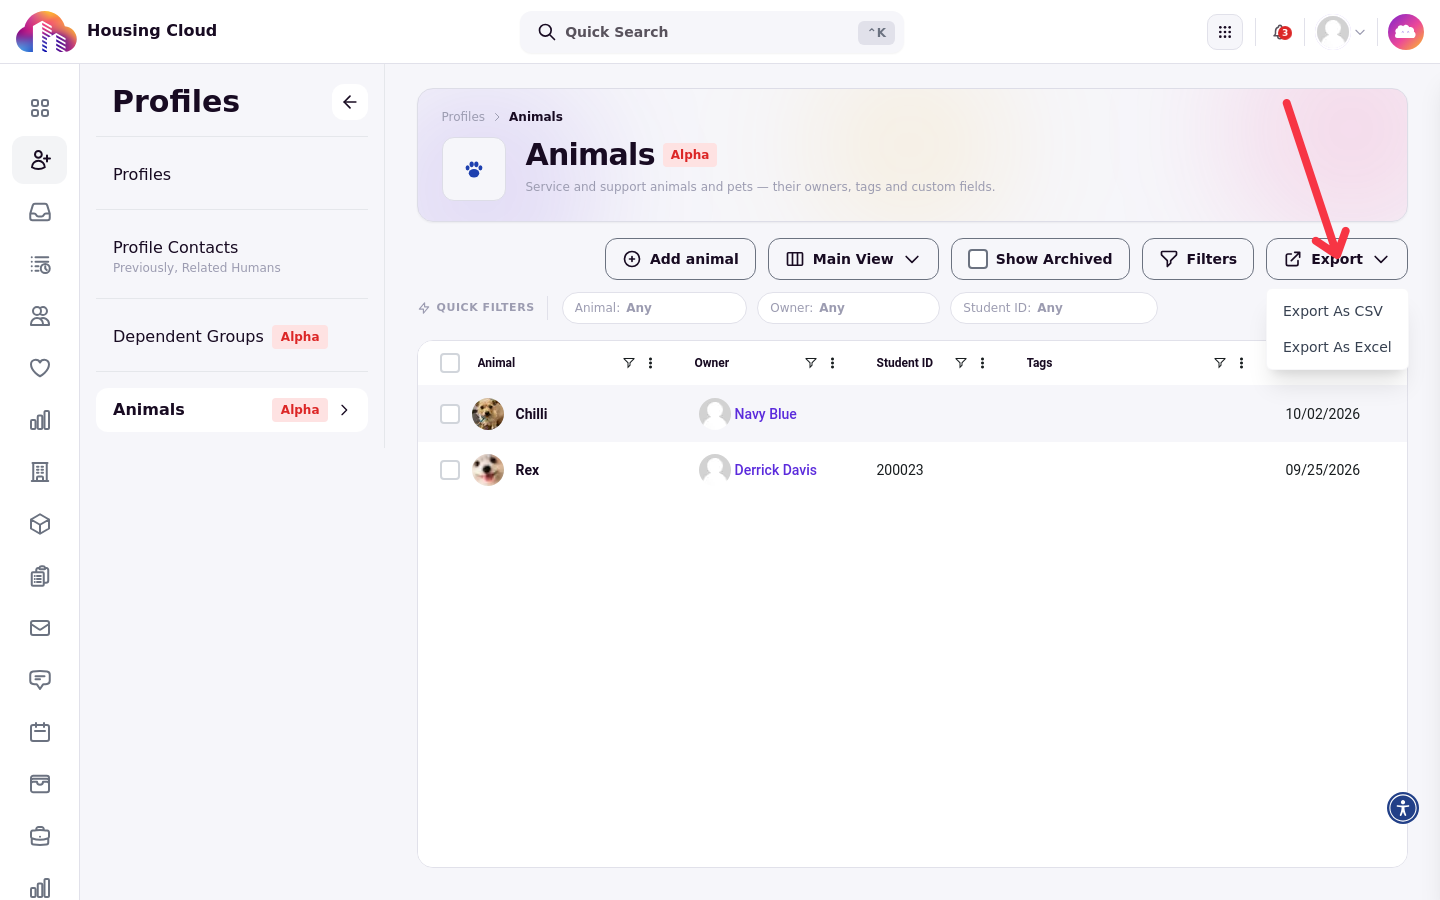
Use Export and choose Export As CSV or Export As Excel. Archived animals are excluded from exports by default, and are included when Show Archived is selected.
Add an animal
Use this for animals that arrive without a student application. Most animals enter the system through the animal application a student completes, so add manually only when that flow does not apply.
Click Add animal on the roster.
The Add Animal dialog requires selecting an owner from students and entering an animal name.
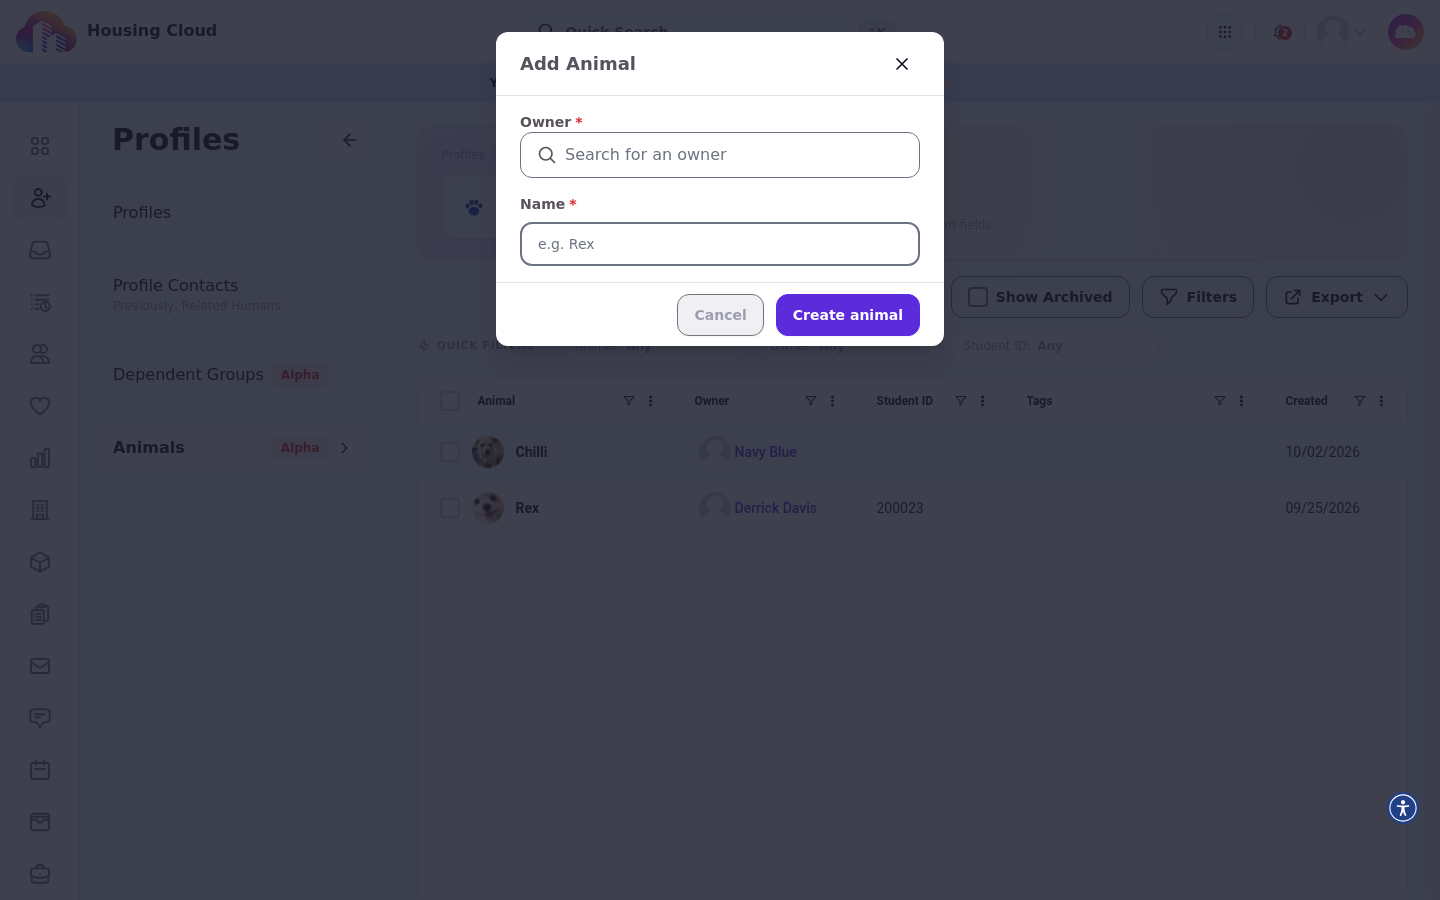
Creating animals requires the Add animals permission.
Review the animal profile page
The animal profile page organizes everything about one animal into four tabs.
Overview: the animal's key details. Species and Breed designated field values display beneath the animal's name and avatar. The Animal tags card and the notes feed also live here.
Owner: shows the owner's Residencies and Applications.
Stays: the animal's stay history.
Forms: a read-only history of the animal's forms.
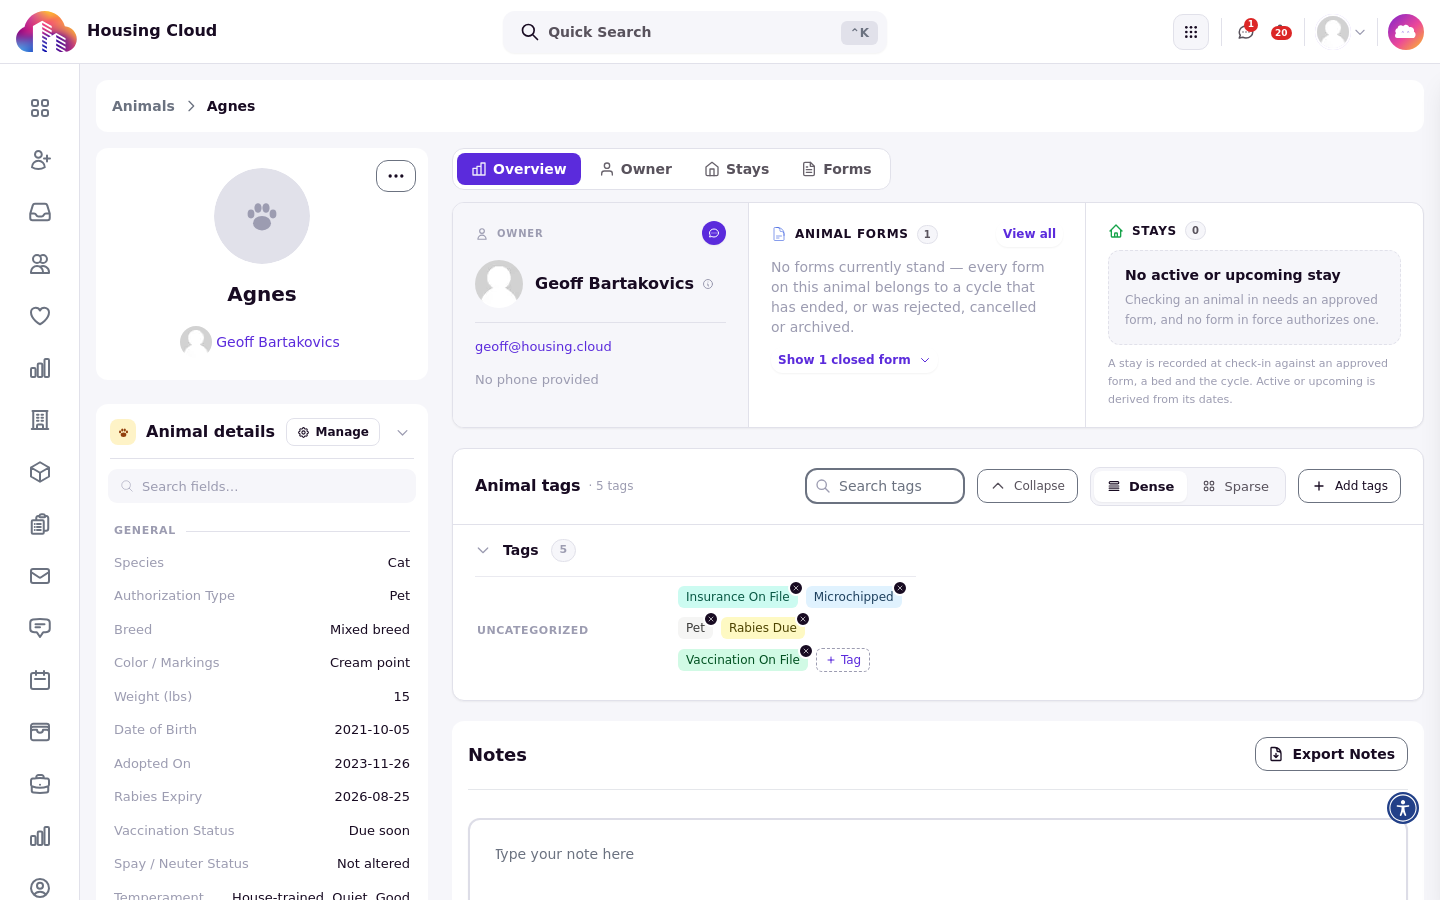
Edit an animal and manage its tags
Correct details or update labels on an animal's profile after the fact.
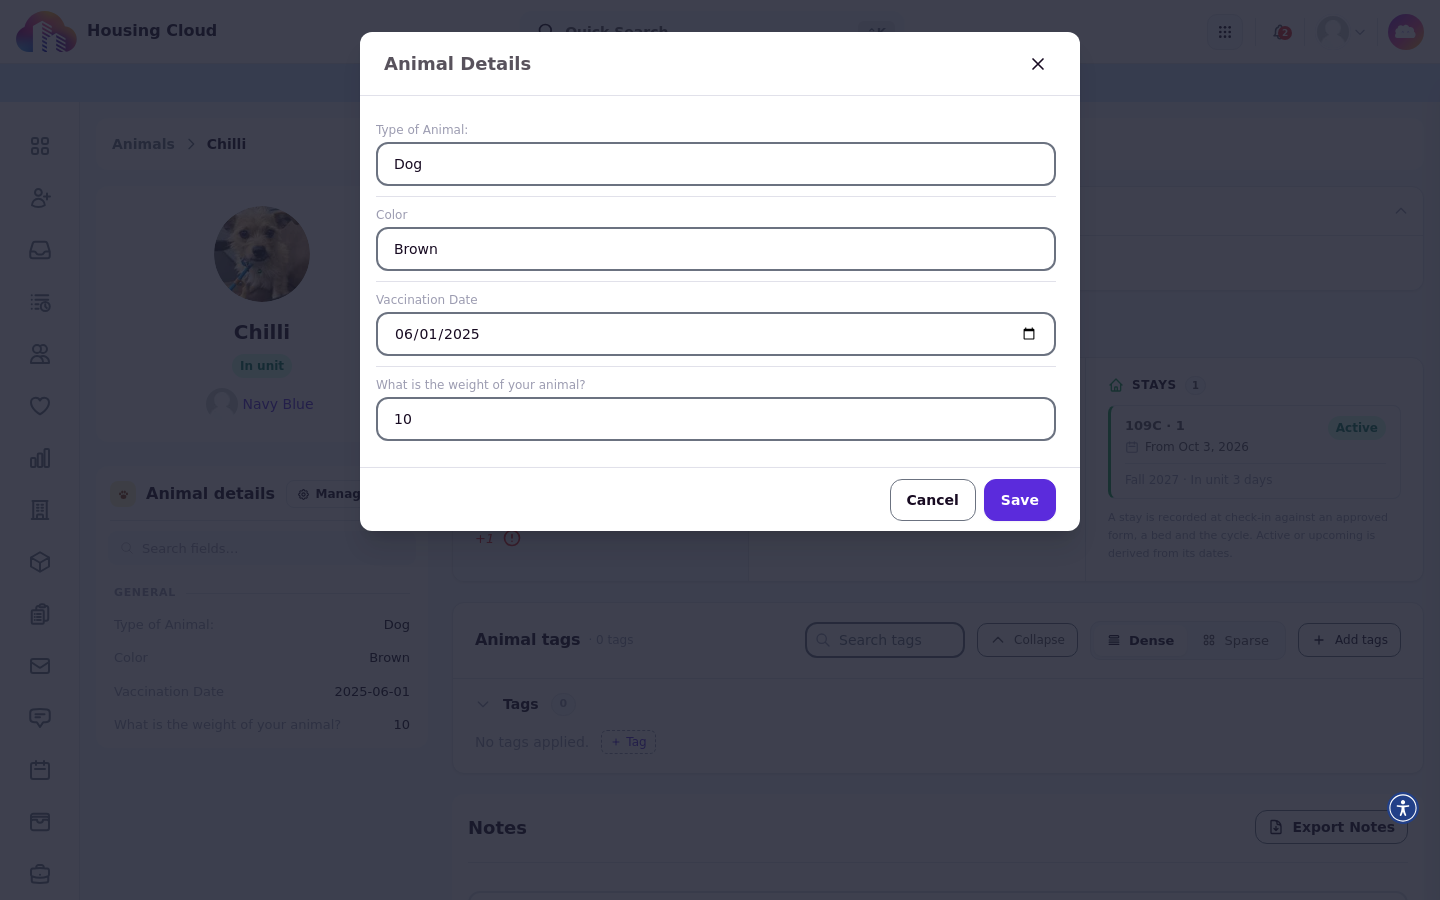
The Manage button in the Animal details card is where editing starts.
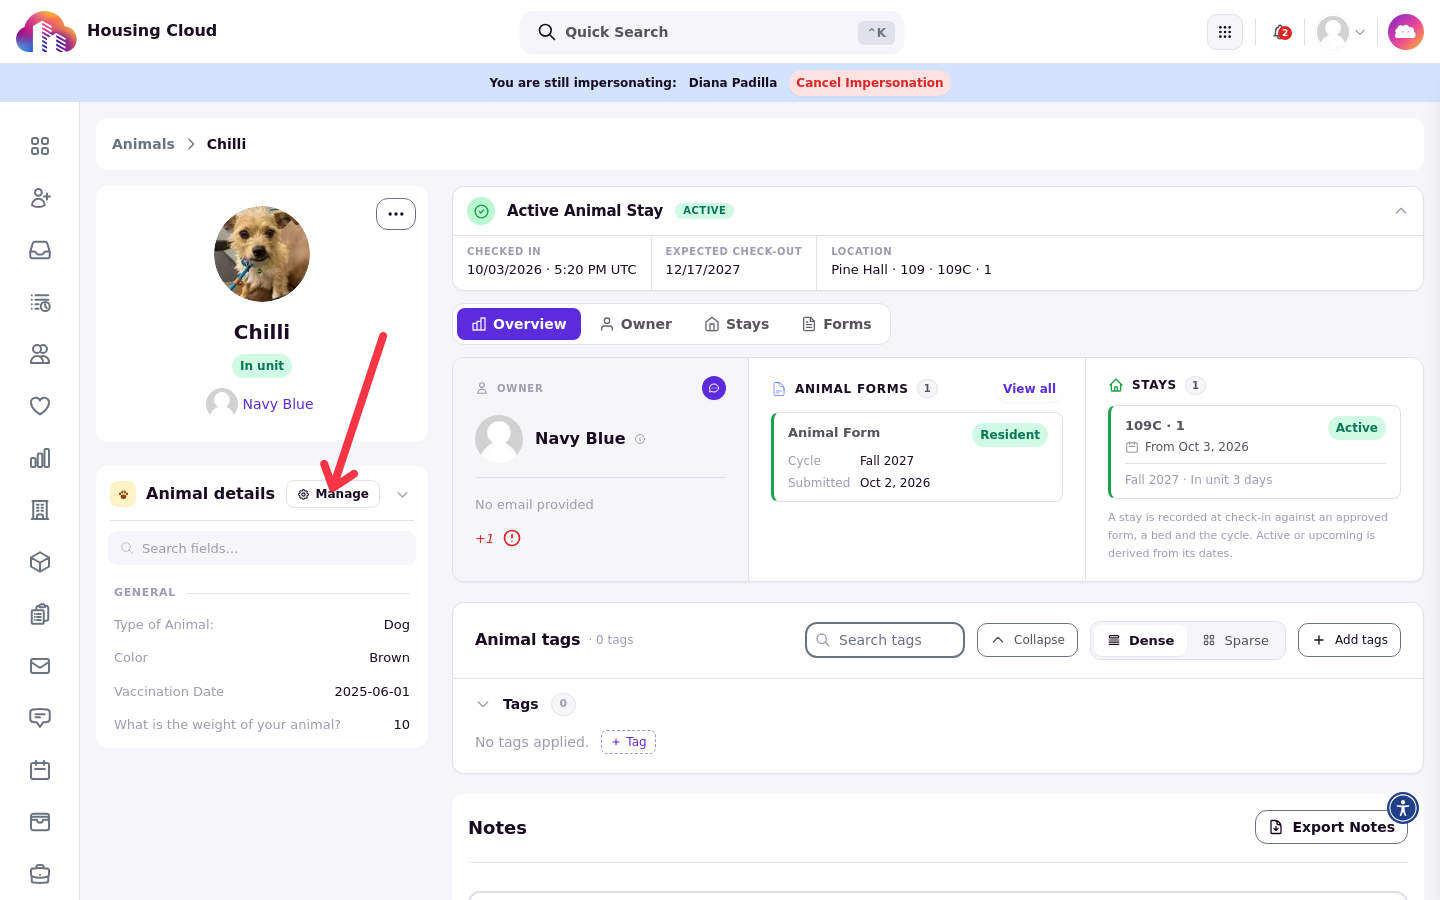
Manage opens the Animal Details dialog, where you edit details such as type of animal, color, vaccination date, and weight.
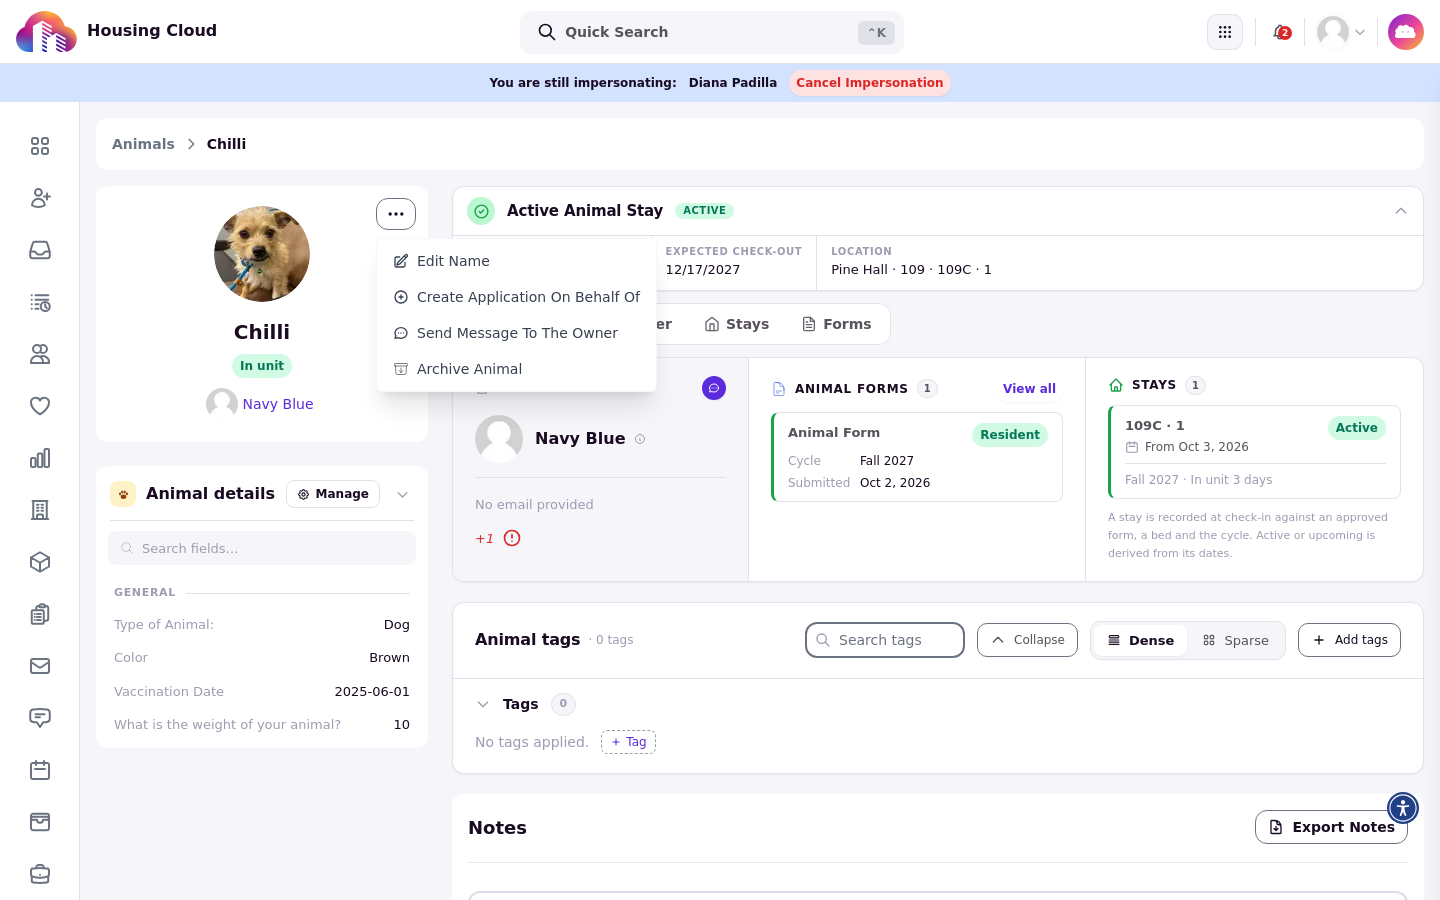
The Actions menu lets you edit the animal's name, for example to correct details the student entered. It also holds Archive Animal and Unarchive Animal.
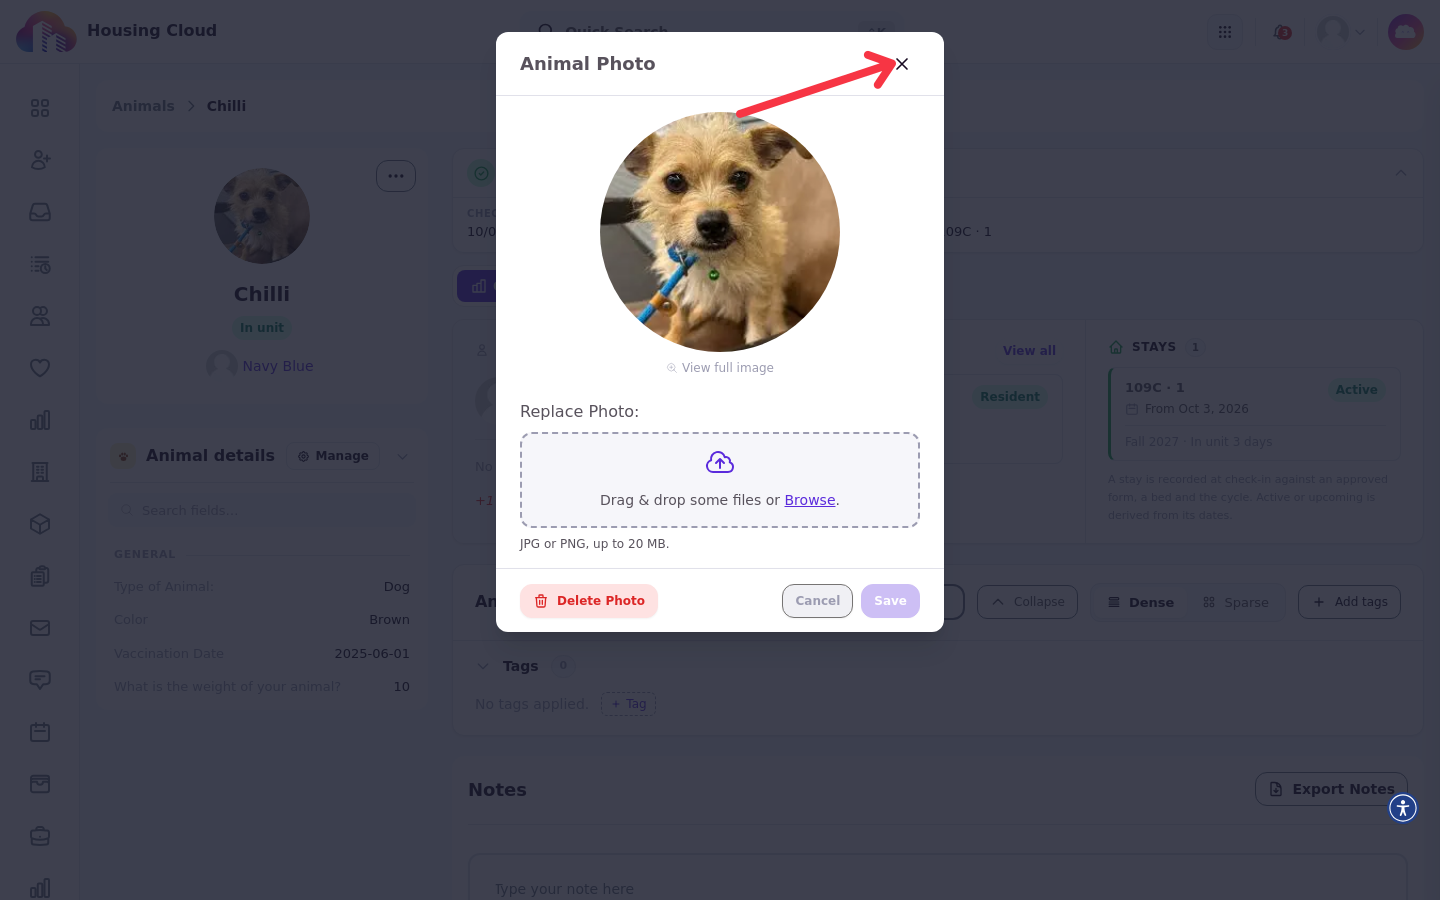
Edit the animal's photo from its avatar on the Overview tab. The photo dialog also lets you replace or delete the photo.
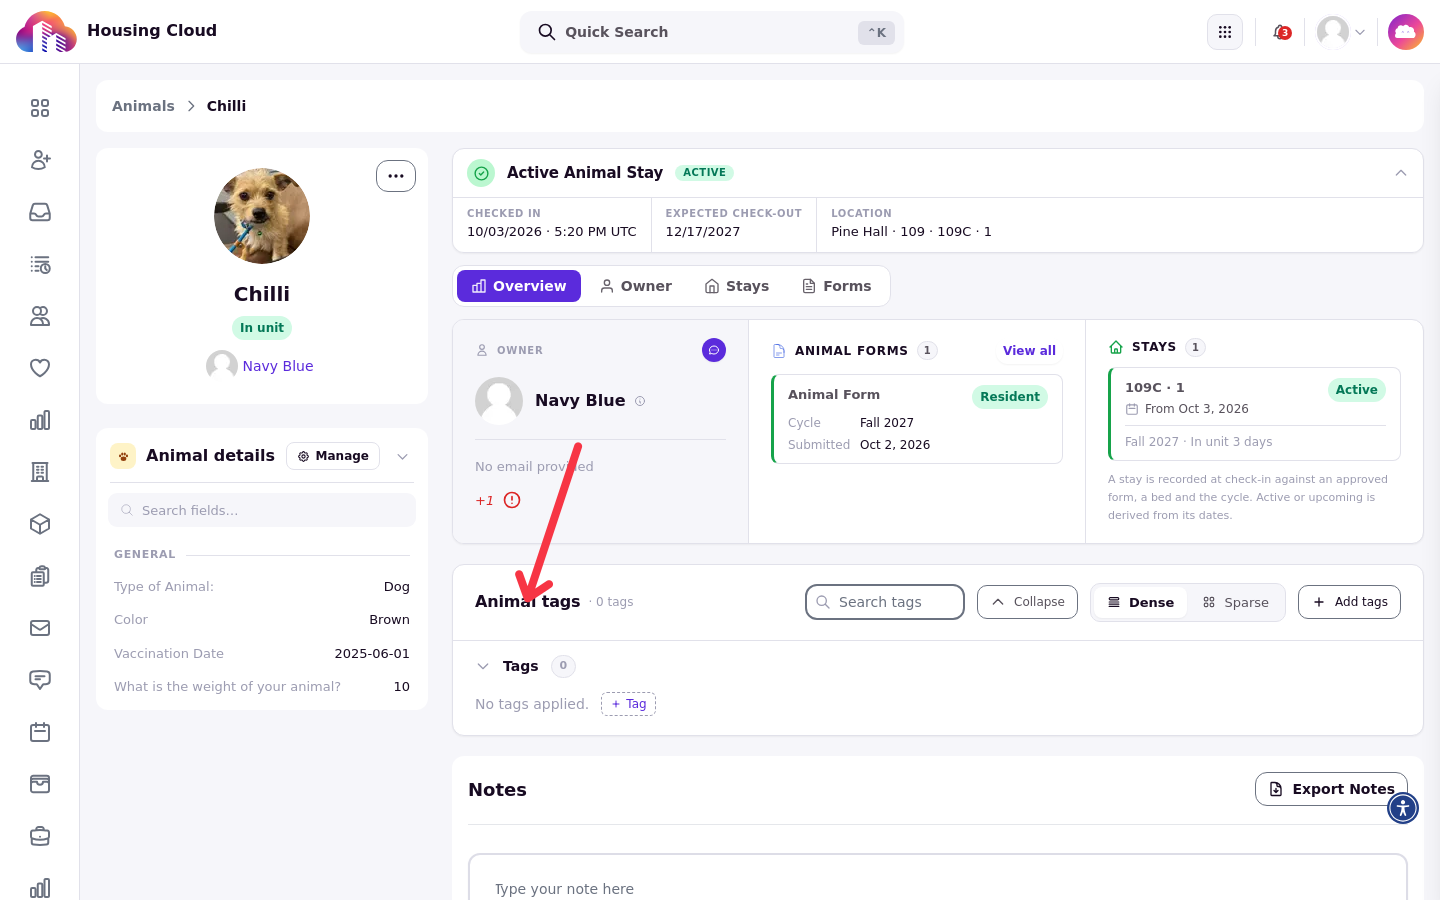
Manage the animal's tags from the Animal tags card on the Overview tab.
Editing requires the Edit animal details permission.
You can also write notes on the animal's profile. Writing notes requires the animal notes permission.
Archive an animal
Archive an animal that is no longer part of your community. Archive Animal and Unarchive Animal are in the Actions menu on the animal's profile, not in the roster bulk menu.
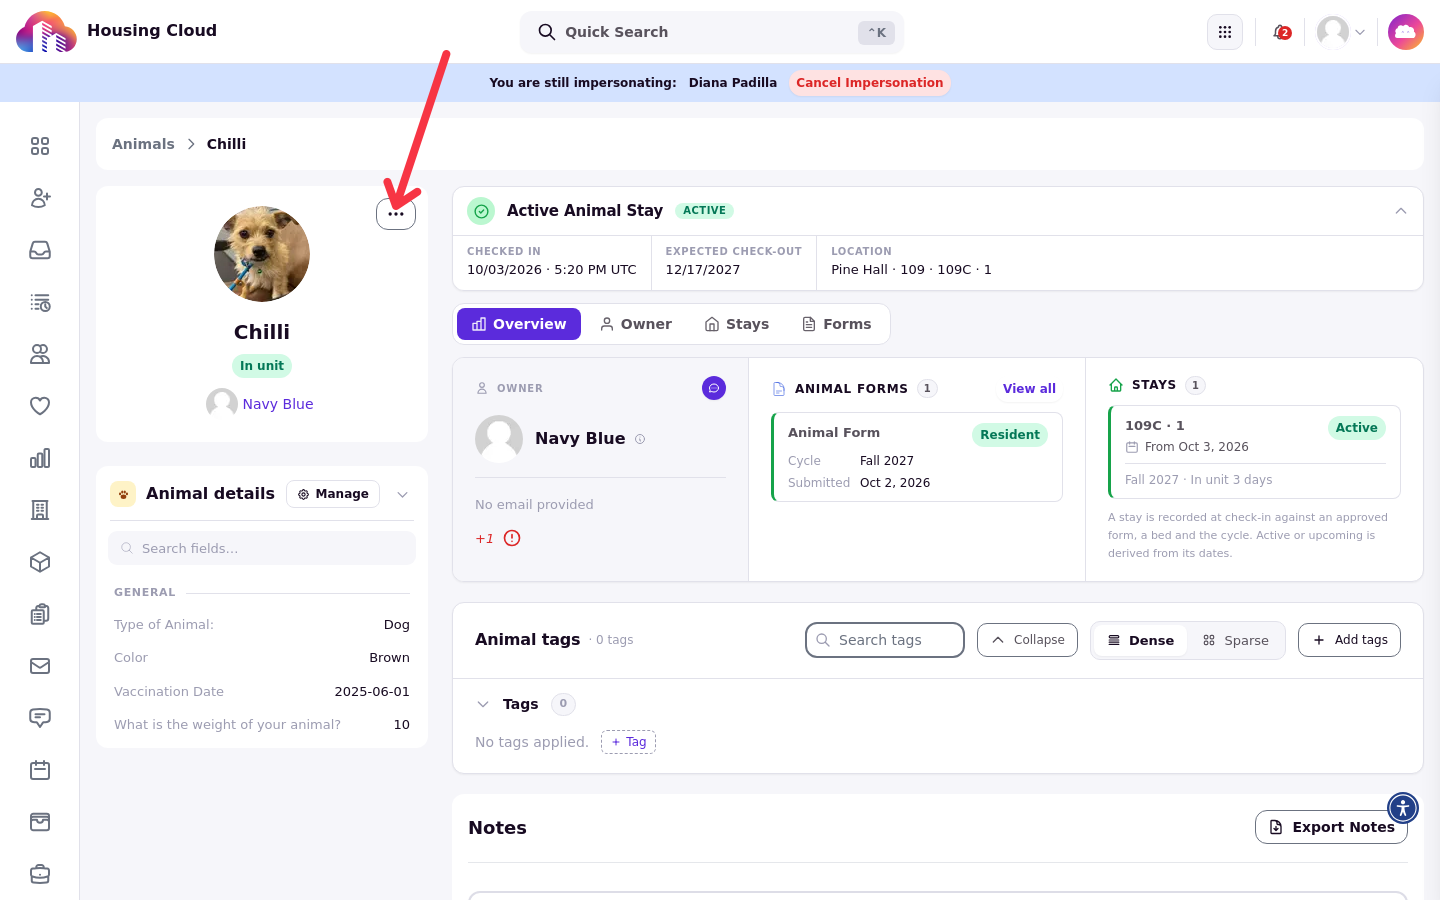
The Actions menu is the three-dot button next to the animal's avatar.
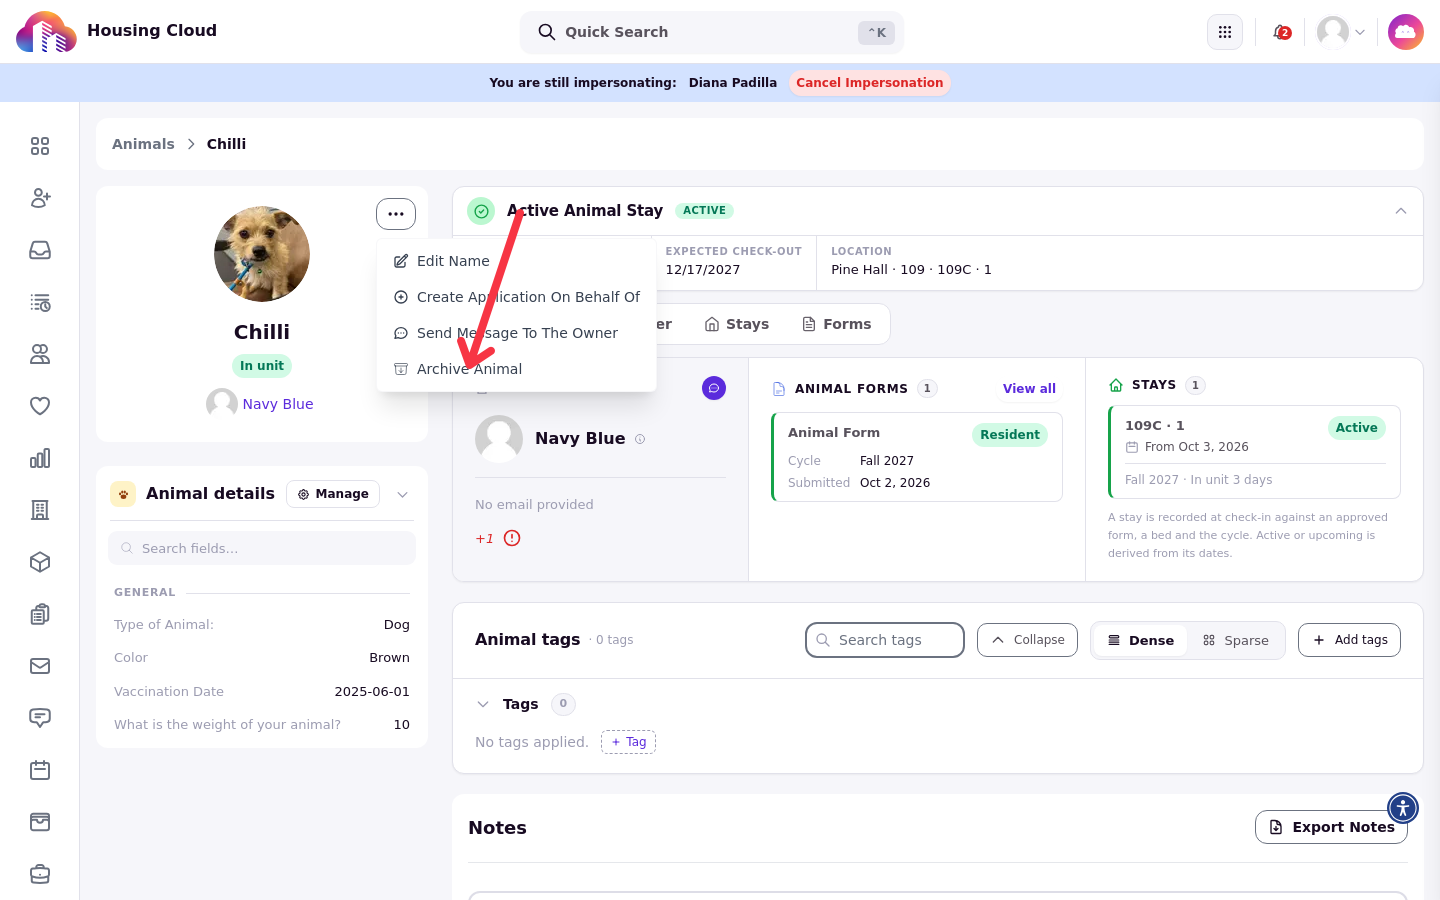
Choose Archive Animal from that menu.
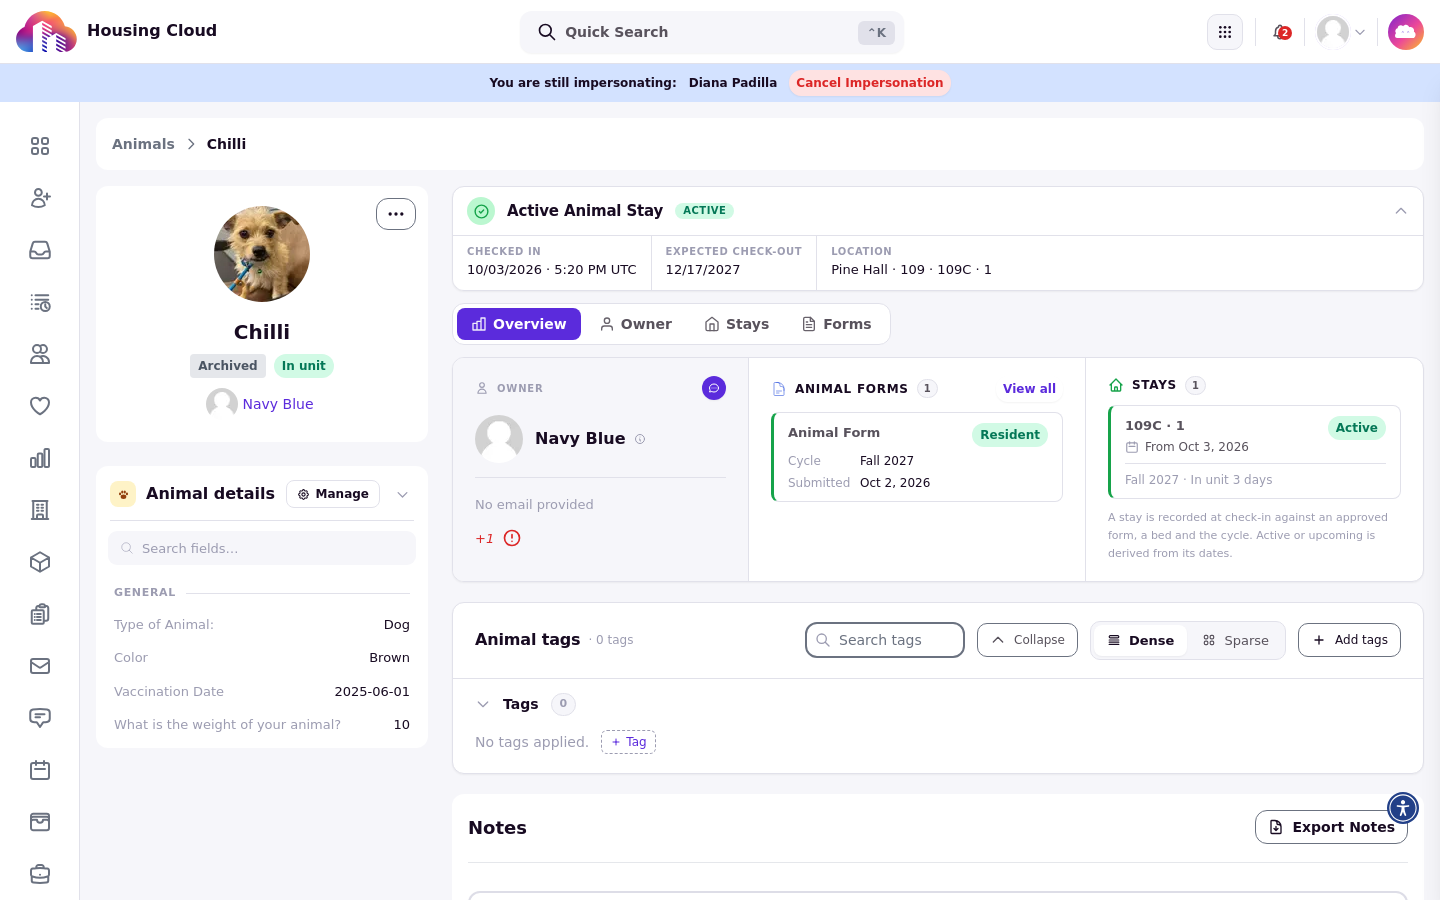
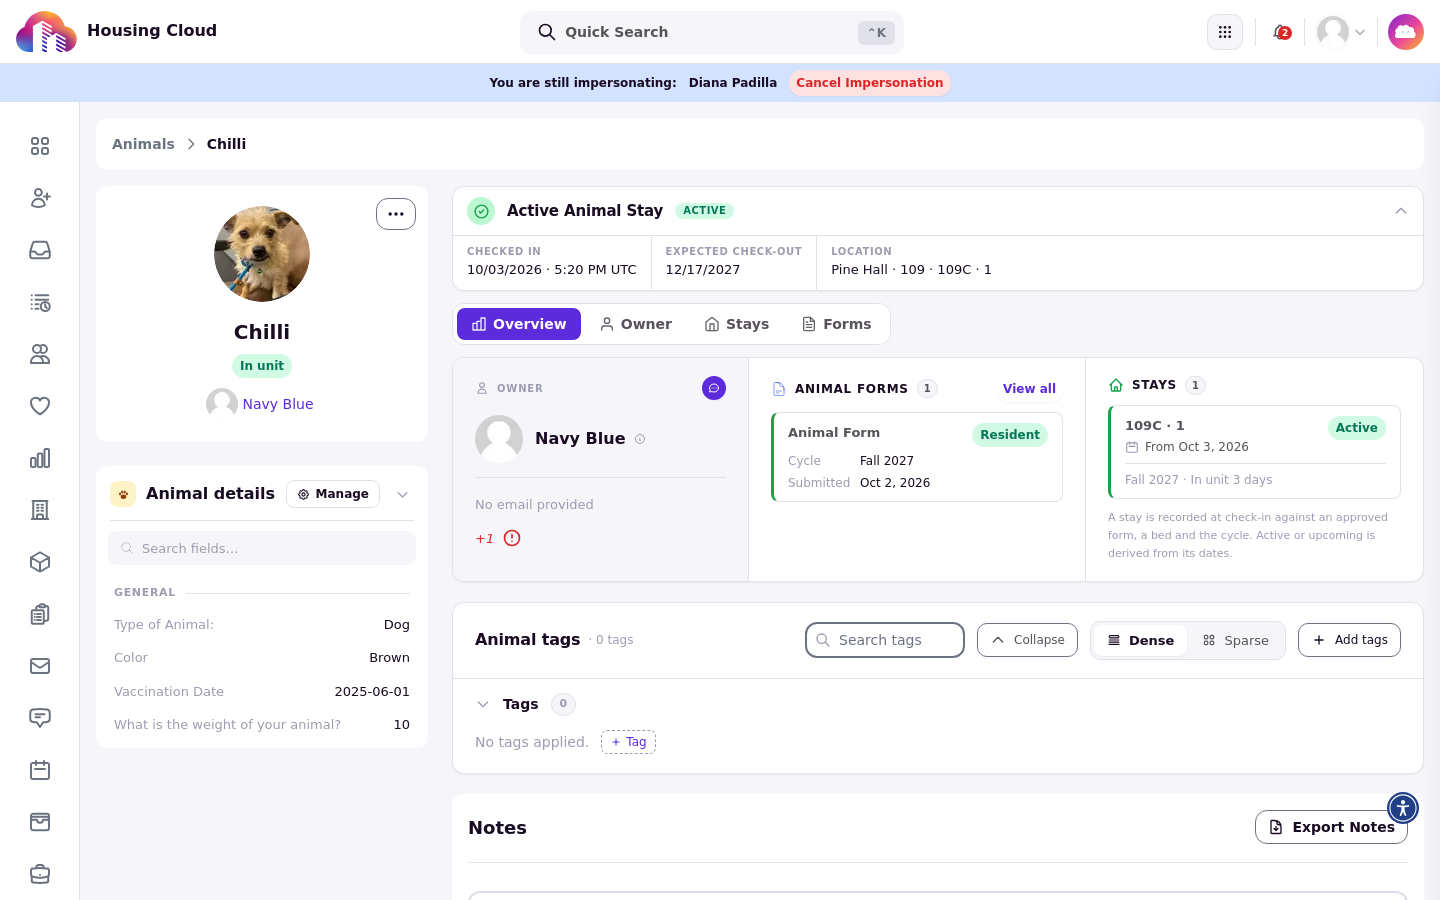
Archiving takes effect immediately, and the profile shows an Archived pill next to the animal's name.
Archiving changes where the animal appears:
Archived animals appear in the roster only when Show Archived is selected.
Archived animals are excluded from exports by default, and are included when Show Archived is selected.
Archived animals no longer appear in the animal picker students see when starting an animal application.
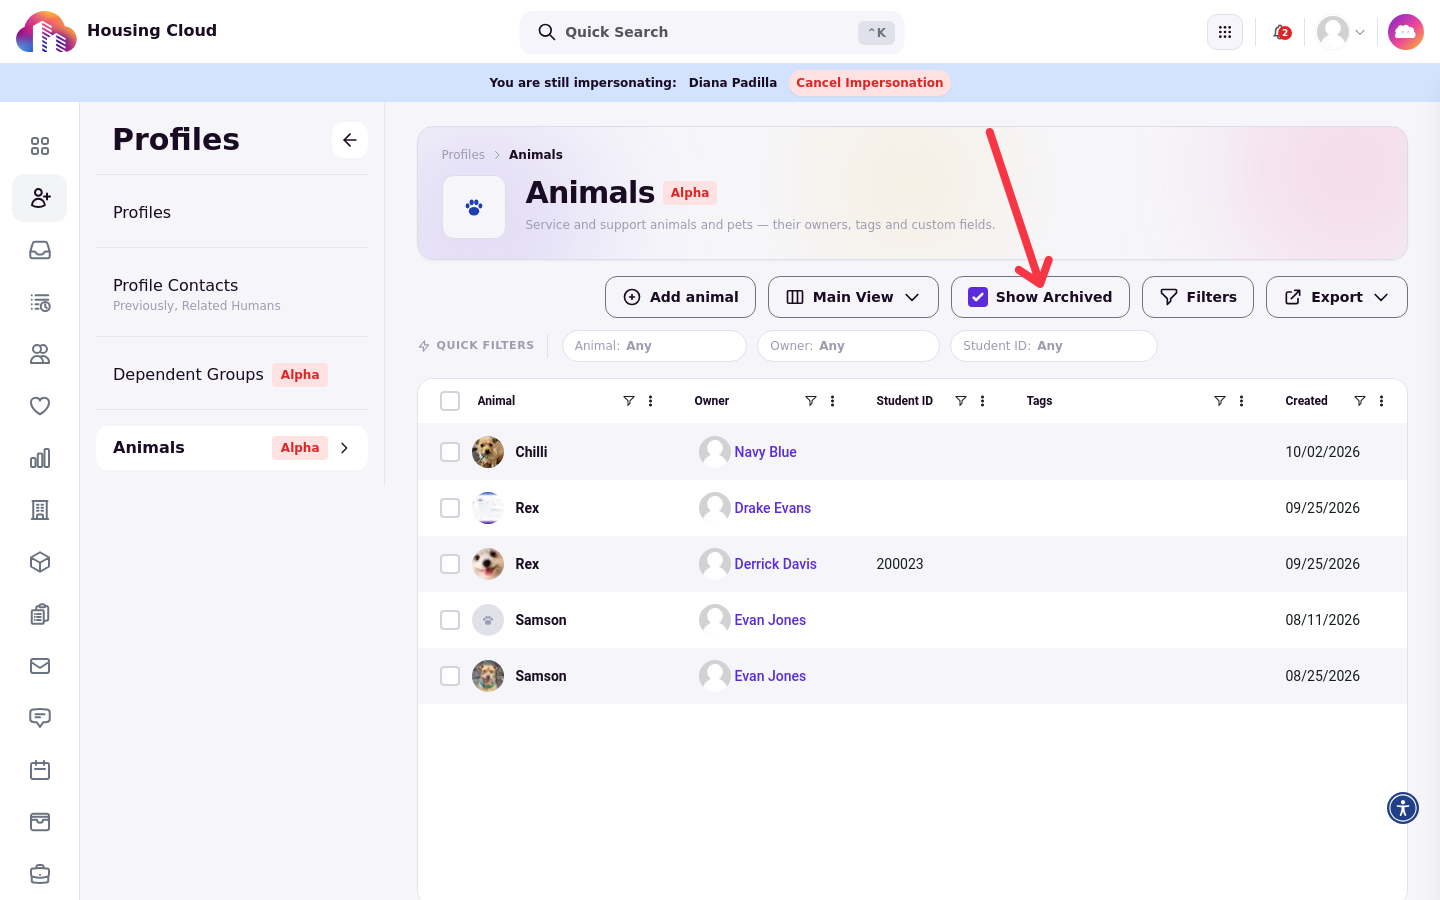
Selecting Show Archived on the roster reveals archived animals.
To bring an animal back, open its profile and choose Unarchive Animal from the Actions menu.
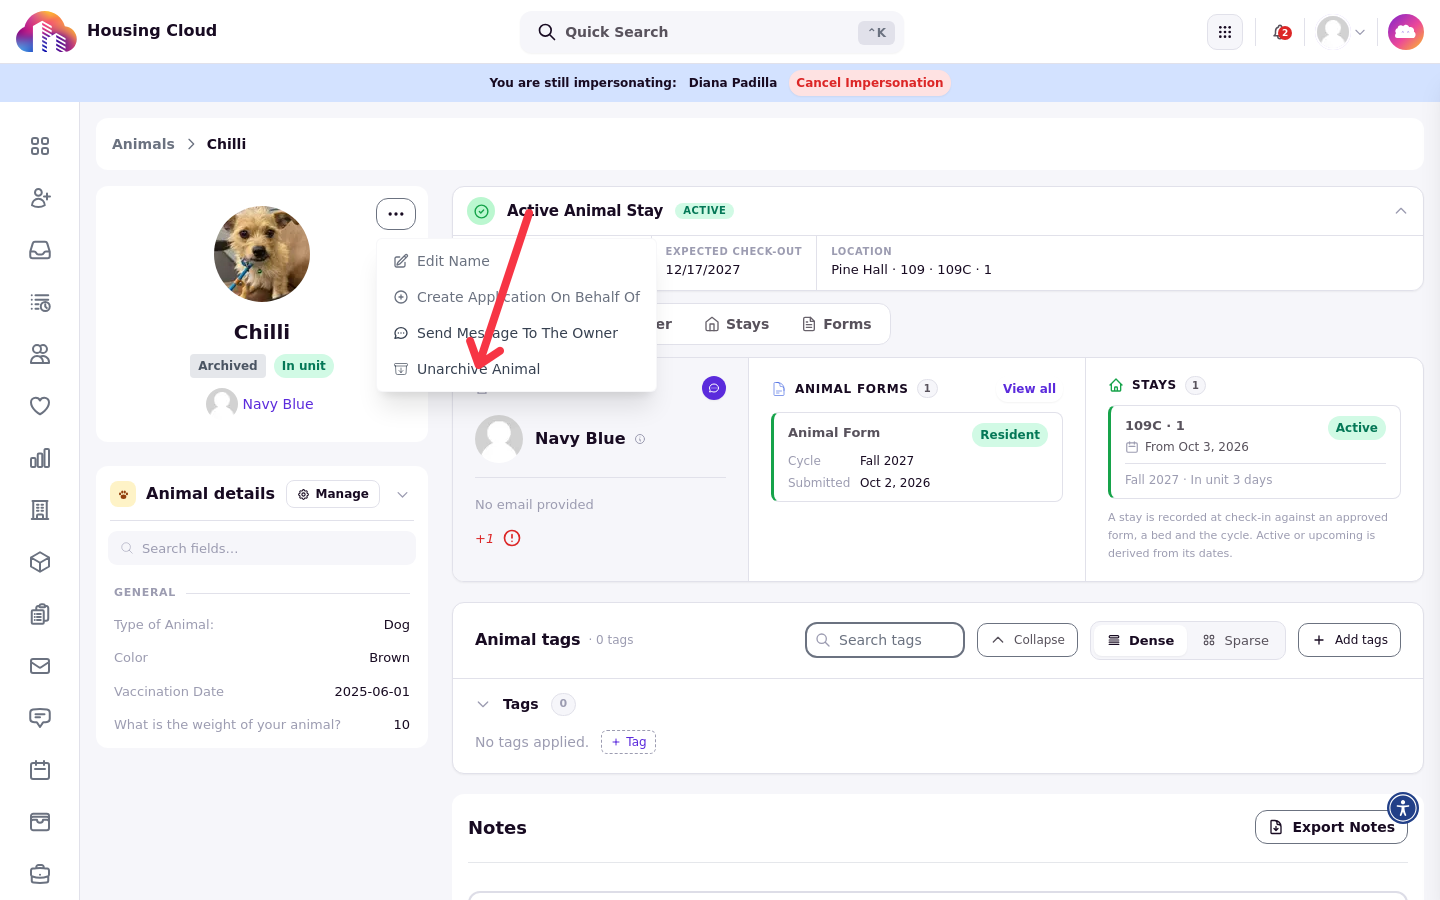
Unarchiving also takes effect immediately, and the Archived pill disappears from the profile.
Archiving and restoring require the Archive and restore animals permission.
Verify your animal records
The roster and profile pages confirm the state of every animal. On the roster, the Owner and Tags columns confirm who each animal belongs to and how it is labeled, and selecting Show Archived includes archived animals in the list. On the animal's profile, the Owner tab shows the owner's current Residencies and Applications, and the Forms tab shows the full history of the animal's forms.