Send as Group vs. Send Individually in Email Communications
Last updated: August 28, 2026
Overview
When you send an email to multiple students from the Communications area, you choose how those messages are delivered. The two options—Send as a group and Send individually—affect how personalizations appear in each recipient's inbox and how the send is recorded in your communication history.
This article explains what each option does, when to use it, and what to expect when your message includes personalization variables like {{first_name}} or {{room_number}}.
The Key Difference
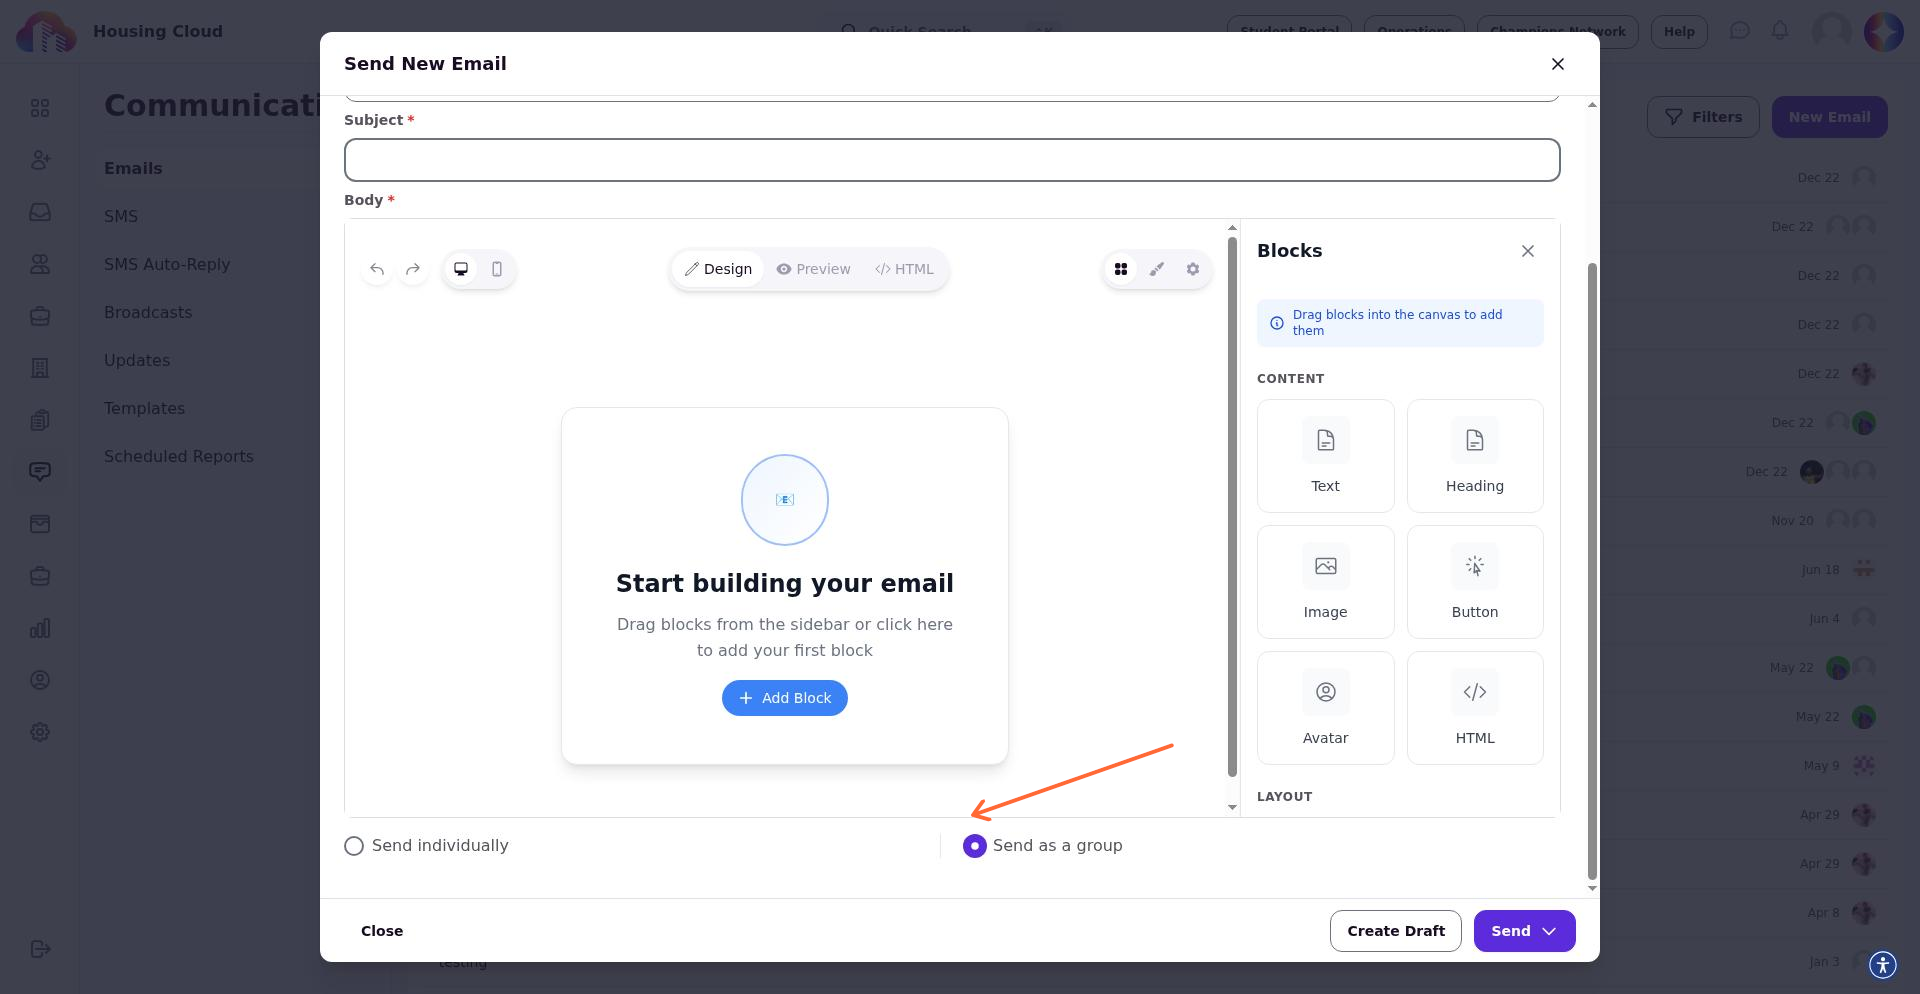
Send as a group sends one message addressed to multiple recipients. Each recipient sees their own personalization data merged into the content—you send once, and every student in the group receives a copy with their information filled in.
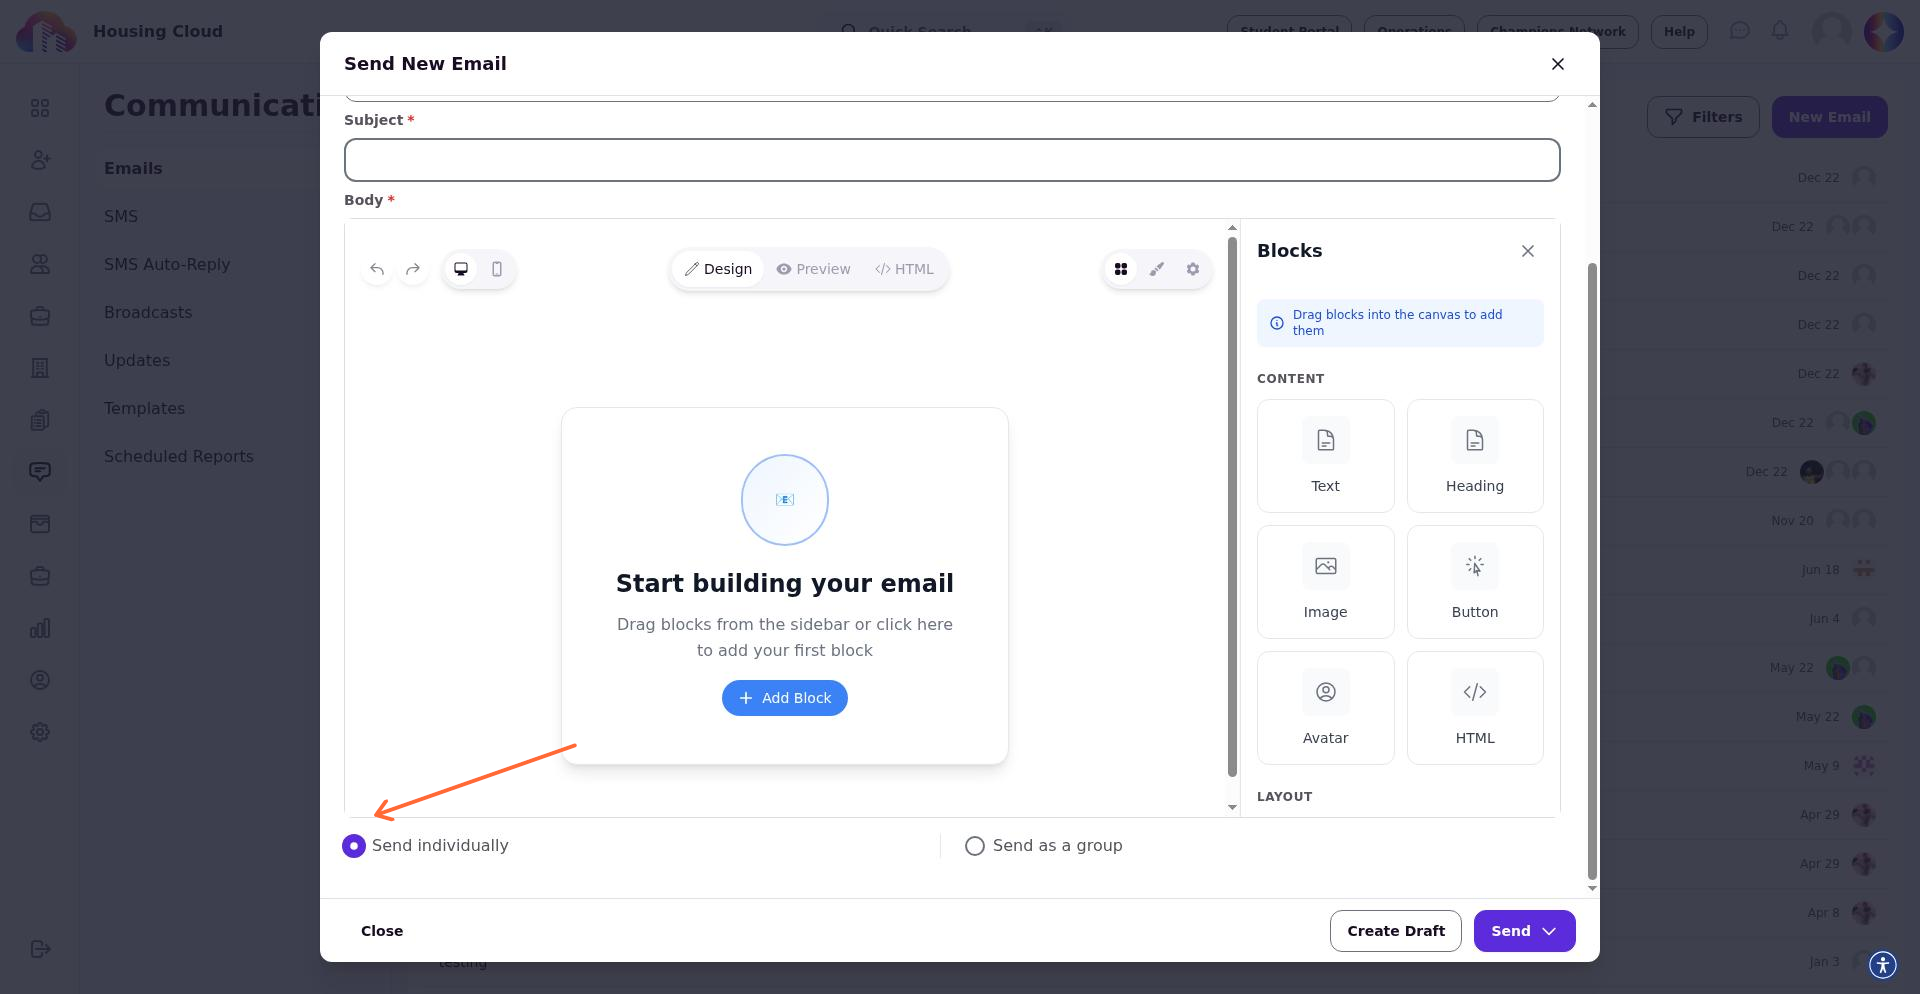
Send individually sends a separate email to each recipient. The system processes each person as an individual send event, which means each message is tracked separately in your communication history.
Both options support personalization variables. The difference is in how the system handles delivery and tracking, not in whether personalization works.
Send as a Group
Use Send as a group when you want a single message to reach multiple recipients efficiently. This is the default for most mass communications—policy updates, move-in announcements, deadline reminders—where every student should receive the same message with their own data merged in.
How Personalization Works
When you send as a group, the system resolves personalization variables for each recipient. If your message includes {{first_name}} and you send to 50 students:
- Emma receives: "Hi Emma, your room assignment is ready..."
- Jordan receives: "Hi Jordan, your room assignment is ready..."
- Taylor receives: "Hi Taylor, your room assignment is ready..."
Each student sees only their own information. They do not see other recipients' names or data.
When to Use Send as a Group
- Broadcast announcements (policy changes, deadlines, events)
- Move-in instructions sent to an entire building or floor
- Roommate assignment notifications where each student sees their own room and roommate details
- Any message where personalization is useful but tracking individual delivery is not required
What to Expect
From your perspective as the sender, Send as a group appears as one send event in your communication history. You addressed one message to a group, and the system delivered it to everyone in that group.
For most mass communications, Send as a group is the appropriate choice. It's efficient and each recipient still sees personalized content.
Send Individually
Use Send individually when you need each recipient to receive a completely separate email—tracked as its own send event. This is useful when you want detailed audit trails or when individual delivery timing matters.
How Personalization Works
Personalization works the same way: each recipient sees their own data merged into the message. The difference is that the system creates and tracks each email separately rather than treating them as one group send.
If you send individually to 50 students:
- 50 separate emails are created and sent
- Each send appears as an individual entry in your communication history
- You can verify delivery status for each specific recipient
When to Use Send Individually
- Personalized move-in time slots where you need to confirm each student received their specific appointment
- Individual housing offers or assignment changes where audit trails matter
- Smaller cohorts where you want granular delivery tracking
- Any situation where you need proof that each specific person received their message
What to Expect
Send individually processes each recipient separately. For large groups, this may take longer than a group send. Your communication history shows one entry per recipient, which provides more detailed tracking but creates a longer history log.
Use Send individually when you need individual delivery confirmation or a detailed audit trail. For general announcements, Send as a group is typically more efficient.
Personalization Variables
Both send methods support personalization variables—also called merge tags—that pull data from student profiles, applications, and residency records.
Inserting a Personalization Variable
When composing an email, click Insert Variable in the text editor toolbar to open the variable menu. The menu shows available categories such as Personal Information, Application, and Residency data.
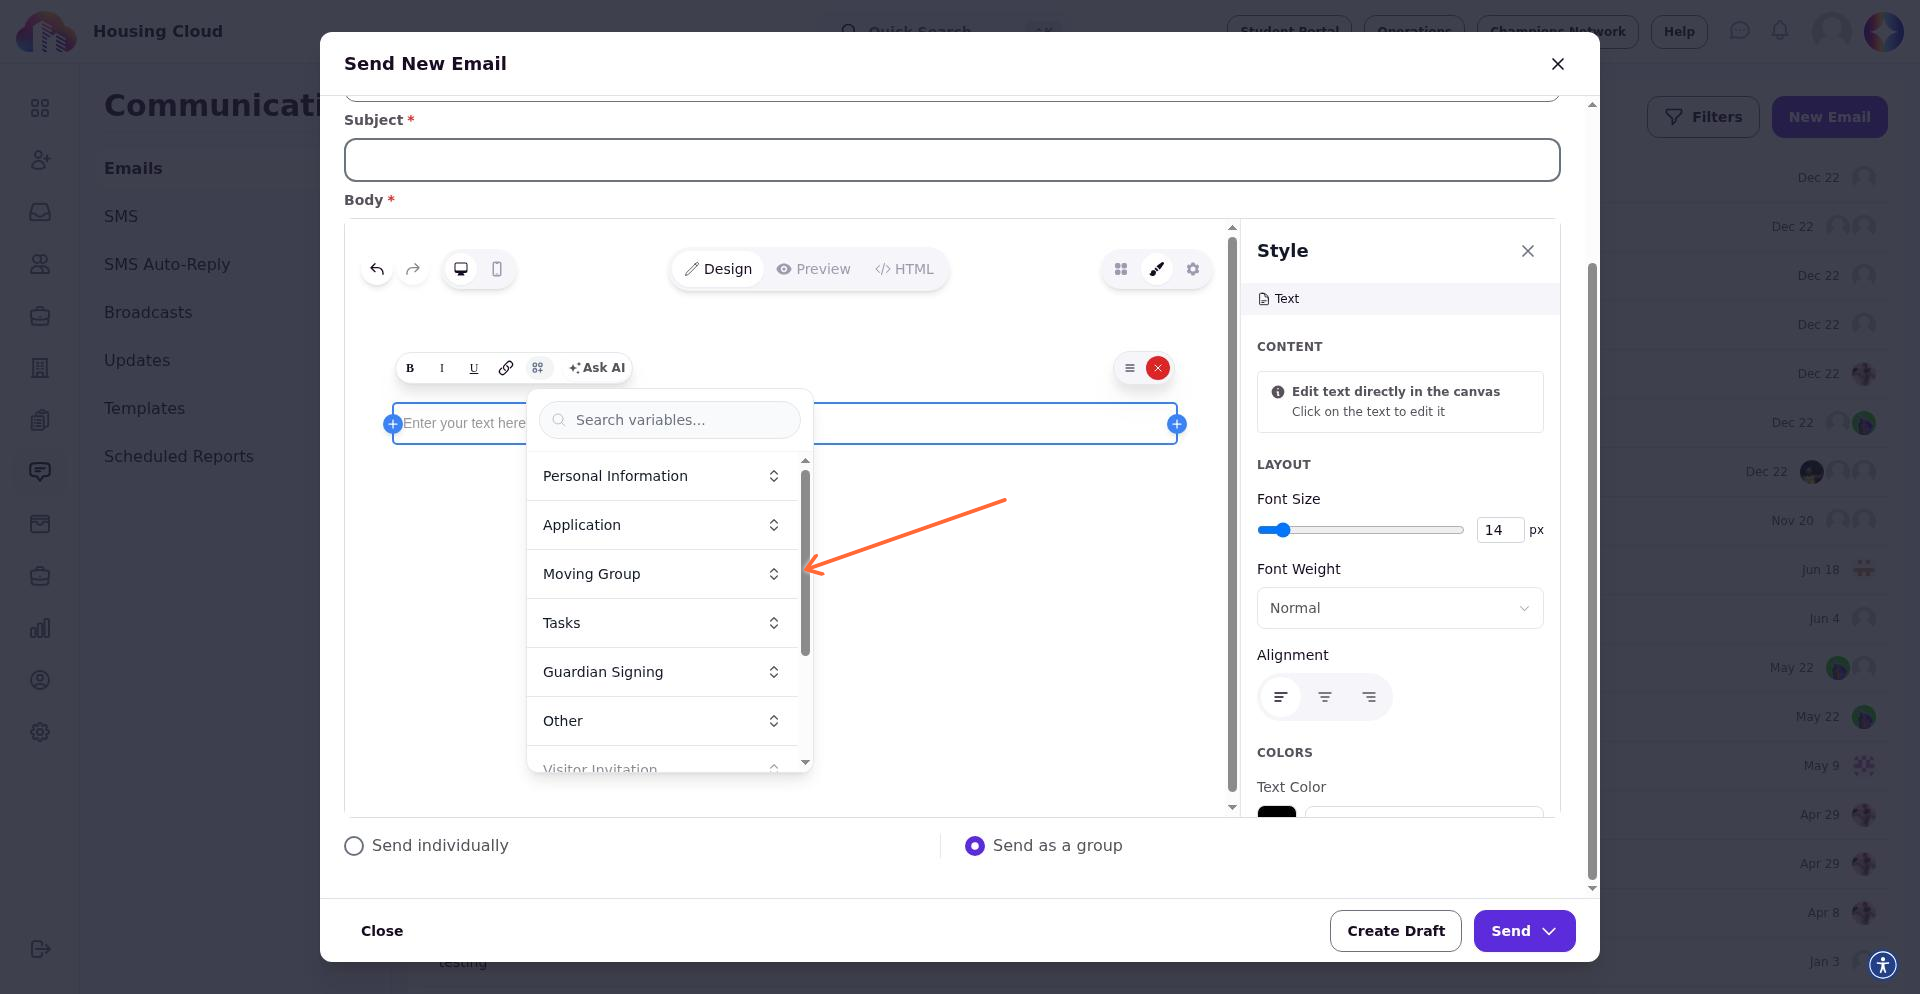
Select a variable to insert it into your message. The variable appears as a placeholder like {{first_name}} or {{room_number}}. When the email is sent, each placeholder is replaced with the actual data from each recipient's record.
Common Personalization Categories
The variables available depend on your institution's configuration. Typical categories include:
- Personal Information: First name, last name, email, student ID
- Application: Application status, submitted date, cycle information
- Residency: Building, room number, bed assignment, move-in date, roommate names
- Meal Plans: Plan name, flex points balance (if applicable)
The Insert Variable menu shows all variables currently available for your message based on context and configuration.
When a Field Is Empty
If a student's profile is missing data referenced by a personalization variable, the variable may render as blank or fail to resolve. Before sending personalized messages to large groups, verify that the relevant fields are populated in your student records.
Check your recipient list for missing data before sending personalized emails. Students with incomplete profiles may receive messages with blank fields where personalization should appear.
Common Scenarios
Roommate Assignment Emails
Scenario: You need to notify 200 students about their room and roommate assignments.
Recommended: Send as a group with personalization variables for room number, building, and roommate names. Each student receives their specific assignment details, and the send appears as one event in your history.
Individual Move-In Time Slots
Scenario: Each student has a unique move-in appointment time, and you need to confirm each person received their specific slot.
Recommended: Send individually with personalization for move-in date and time. You'll see a separate history entry for each student, making it easy to verify delivery.
Bulk Policy Update
Scenario: You're sending a policy reminder to all residents—no personalization needed.
Recommended: Send as a group. The message is identical for everyone, and you don't need individual tracking. This is the most efficient approach for broadcast announcements.
Test Before Sending
Best practice: Before sending to a large group, send a test message to yourself or a small sample group. Verify that personalization variables resolve correctly and the message formatting looks as expected.
Troubleshooting
Personalization variables aren't showing the correct data
Check that you've inserted the correct variable for the data you want to display. Use the Insert Variable menu to browse available options rather than typing variables manually. If a variable shows blank, the student's record may be missing that data field.
Email delivery seems slow for large groups
Send individually processes each recipient as a separate send event. For very large groups, this takes longer than a group send. If you don't need individual tracking, switch to Send as a group for faster delivery.
Some students received blank fields in their email
This typically means the personalization variable referenced data that doesn't exist in those students' profiles. Review the affected students' records to confirm the relevant fields are populated. You may need to update profiles or resend the message after correcting the data.
BCC recipients aren't receiving copies
If your message includes personalization variables, BCC delivery may be affected. Variables require recipient-specific rendering, which can interfere with BCC handling. For messages that require BCC copies, test thoroughly before sending to your full recipient list.
Comparison: Send as a Group vs. Send Individually
Use this table to quickly compare the behavior of each send method.
| Feature | Send as a Group | Send Individually |
|---|---|---|
| Number of emails sent | One message delivered to all recipients | One separate email per recipient |
| Personalization support | Each recipient sees their own data merged in | Each recipient sees their own data merged in |
| Recipients see each other | No (recipients are hidden from each other) | No (each email is addressed only to that recipient) |
| Communication history | Appears as one send event | Appears as one entry per recipient |
| Delivery tracking | Group-level tracking | Individual delivery status per recipient |
| Best for | Broadcast announcements, general notifications | Audit trails, individual confirmations, small groups |
| Processing time | Faster for large groups | Longer for large groups (processes each separately) |
| BCC/CC behavior | May be affected if personalization is used | May be affected if personalization is used |
What to Do Next
After sending a mass communication:
- Check your Communication history to verify the send completed successfully
- Review delivery status for any failed sends
- Update student records if personalization gaps caused blank fields
For related topics, see the Resident Portal Feature Checklist for an overview of the Communications area and notification preferences.