Generate a Floor Plan from a Blueprint
Last updated: October 13, 2026
"Generate from blueprint" in the floor plan builder reads an uploaded PNG, JPEG or PDF of a floor and draws a draft layout. Unlike other Cloudy changes, it shows a preview first: the draft reaches the builder only after you apply it.
At Maple Hall… facilities sent a scan of the second floor. Jordan uploads it to get a starting layout and then fixes it by hand.
"Generate plan" creates a preview of the layout first. Review the preview, then click "Apply to [floor name]" to put the draft in the builder; the draft autosaves only after you apply it. Publishing the layout stays a separate step. Use it on a floor that has no layout yet, check every room against the blueprint, and publish only when it matches.
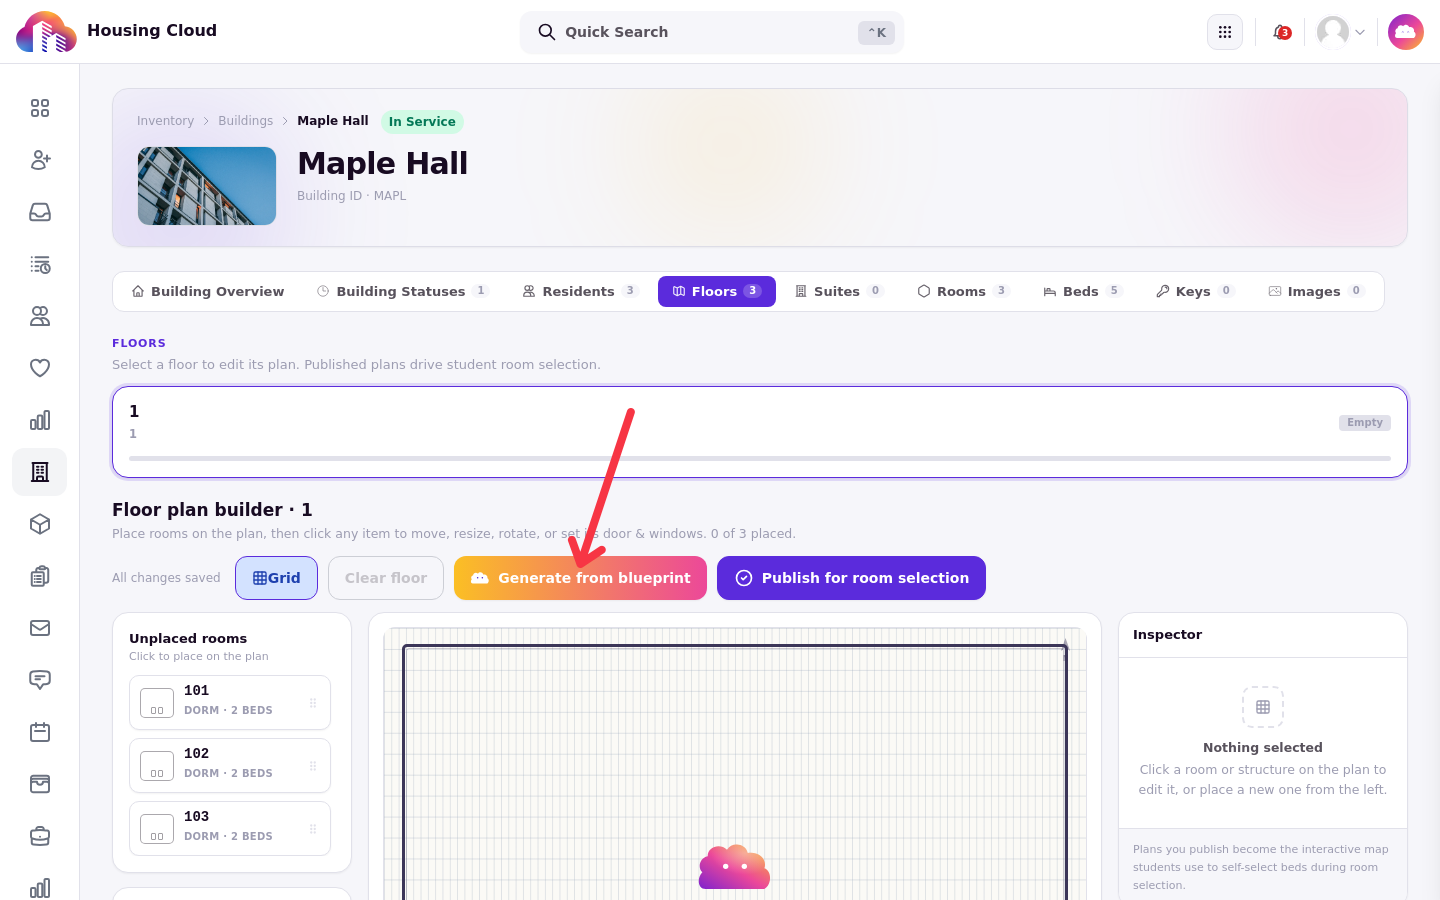
Where the button is
Open a building's floor plan builder, when your school has floor plans and Cloudy floor plan generation on. The control appears in the builder's controls.
Upload and generate
Click "Generate from blueprint", upload a PNG, JPEG or PDF in the upload window, and click "Generate plan". The status reads "Reading blueprint" while Cloudy works.
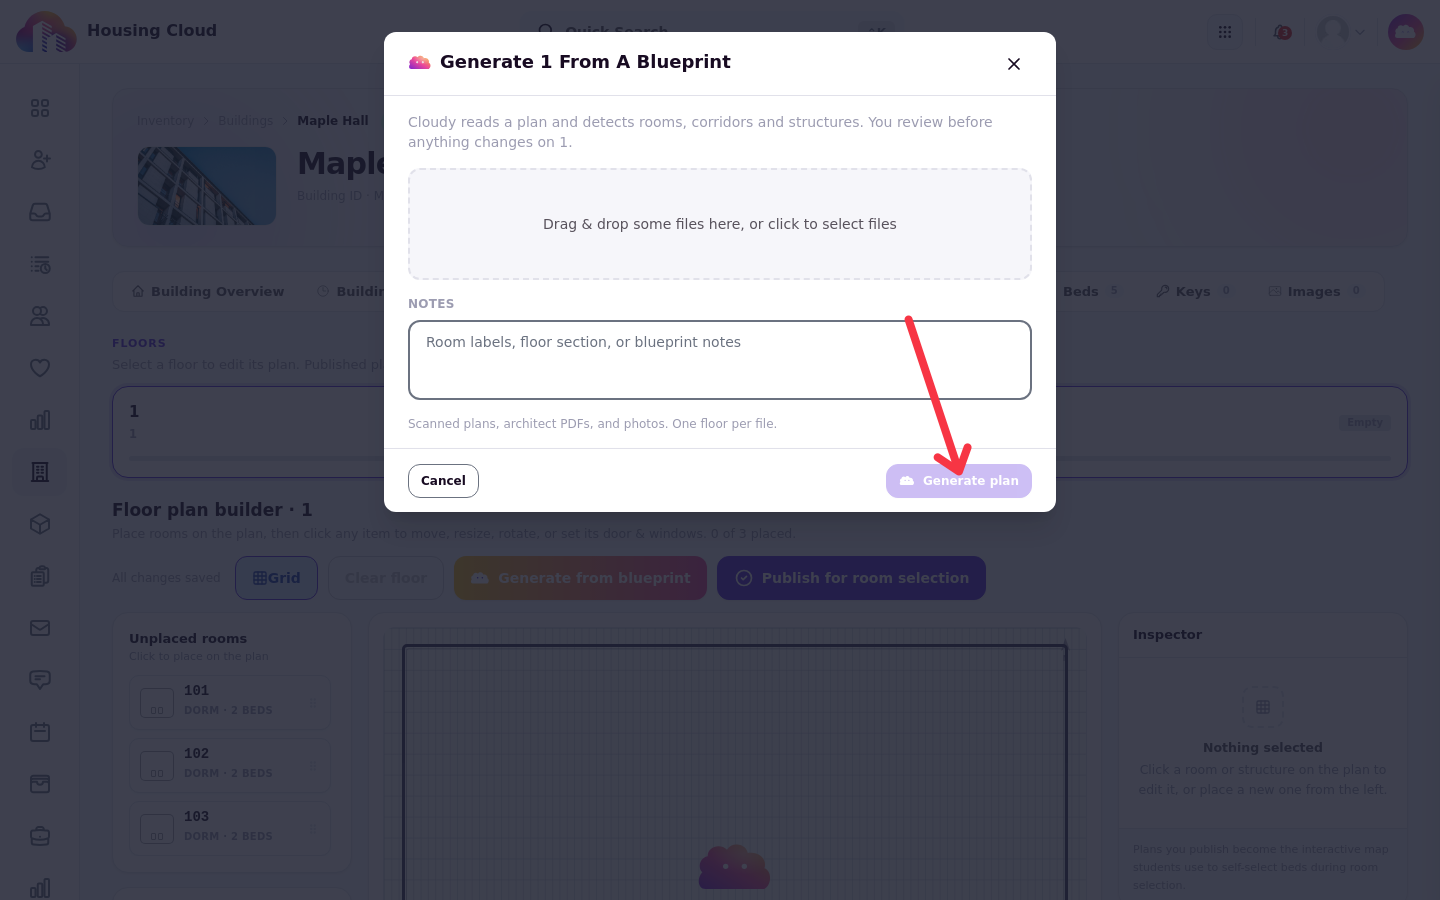
The "Generate plan" button stays disabled until a blueprint file is added.
Check the draft layout
After you apply the preview, the result is a draft layout with a banner explaining what Cloudy drew. Check and correct every room against the blueprint. Nothing is published until you publish the floor plan yourself.
[SCREENSHOT 24-3: 03-draft-layout.png — The drafted layout with its banner.]
If generation fails
"Blueprint generation failed." means generation did not finish. Follow the details shown with the error: check the blueprint file, make sure the floor has rooms to draw, and check that the rooms Cloudy drew match the floor roster, then try again.