Completing a Room Condition Report
Last updated: October 2, 2026
What is a Room Condition Report?
A Room Condition Report (RCR) is an official record of the physical condition of a resident’s room and all university-owned furniture at the time of move-in and/or move-out. It documents the state of walls, floors, fixtures, and furnishings to establish a baseline condition.
RCRs are important because they determine responsibility for damages. By accurately documenting the condition of the space, Housing can identify whether damage occurred during a resident’s occupancy or was pre-existing. This documentation directly impacts potential charges assessed at move-out and helps ensure fairness in the billing process. Incomplete or inaccurate RCRs can result in improper charges or disputes later in the year.
Why Room Condition Reports are Important:
Accurate Room Condition Reports are essential to ensuring a fair and transparent move-out process. Because RCRs establish the documented baseline of a room’s condition, any missing details or inaccuracies can directly impact whether a resident is held financially responsible for damages.
A thorough and accurate RCR protects residents from being charged for pre-existing damage and protects the university from absorbing the cost of damage that occurred during occupancy.
Incomplete or vague documentation can lead to disputes, confusion, and unnecessary stress at the end of the academic year. Careful attention to detail when completing or reviewing an RCR helps maintain trust, accountability, and integrity within the housing process. If it’s not documented, it didn’t happen.
How to Complete a Room Condition Report:
Step 1
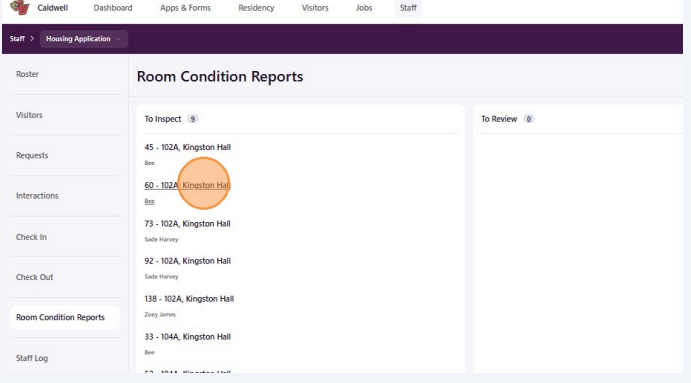
Navigate to your housing portal and log in, then click "Room Condition Reports" on the left menu column.
Step 2
You will see three columns of reports: To Inspect, To Review, and Completed. Click on the room that you need to inspect, the student's name appears underneath the room number.
Step 3
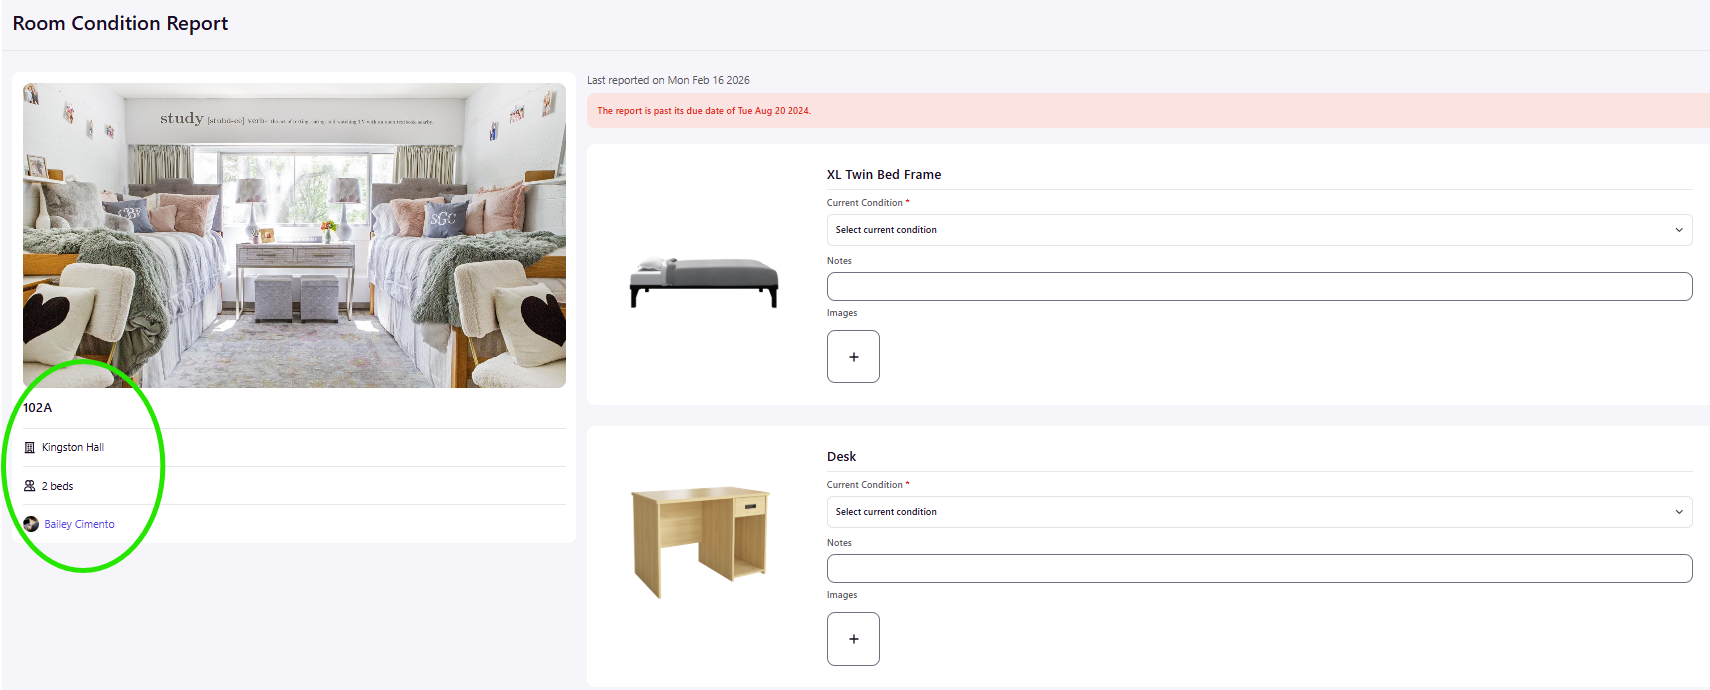
Verify that you have the correct room and student, then enter the information for each piece of furniture/item listed. You can see at the top of this inspection, it is actually overdue.
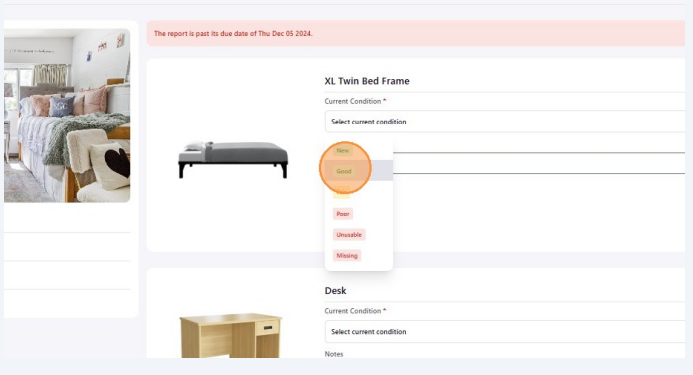
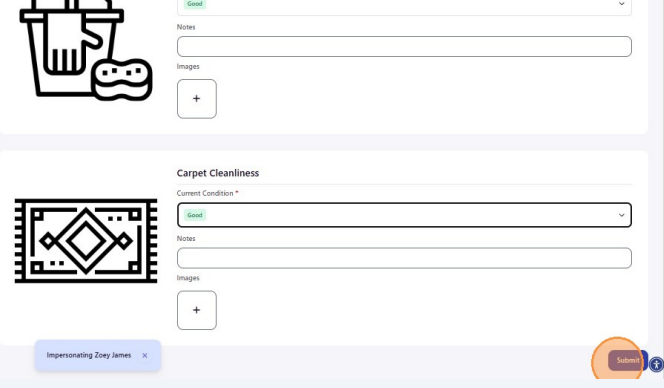
Each item has a drop down menu to select the condition and a space for adding notes.
Step 4
Select a condition and add relevant notes for all items, then click submit.
Step 5
Back on the Inspections tab, you can view your completed inspections. Select the inspection that you want to view.
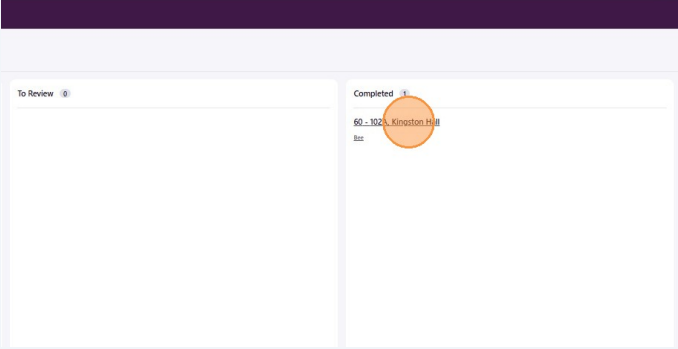
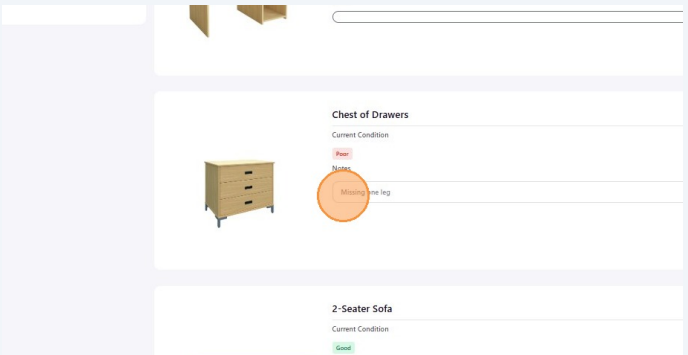
You can easily view each item status as well as the notes you entered.